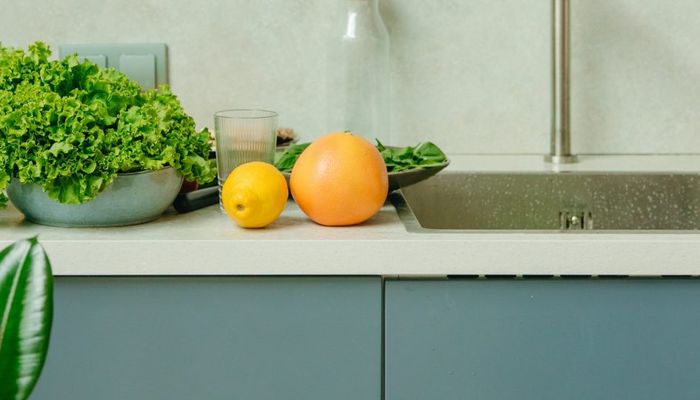
Counter top paint
Is your countertop outdated or in need of a new look, but you don't want an expensive kitchen renovation? With Osmo Decorwax Creativ, you can easily give the countertop a new color and protect it long-lasting against moisture, dirt, and damage.
Products in this knowledge item;
Are you tired of the current look of your countertop? Then it is time to give your countertop a fresh coat of paint! With Osmo Countertop Paint, better known as Osmo Decor Wax, you can give your countertop a radiant new look in no time, while simultaneously protecting it long-lasting against moisture, dirt, and damage. Osmo Countertop Paint is available in 10 different colors that can be endlessly mixed together. Is the color you are looking for not among them? No worries! The countertop paint can be ordered pre-mixed in one of the 186 RAL and 1950 NCS colors. This way, there is always a color that suits your needs.
Please note: Osmo Decor Wax is not suitable for synthetic surfaces (e.g., vinyl).
Benefits of Decorwas Creativ
- Based on natural, plant-based oils and waxes
- High yield, 1L = treats 24m²
- Intensive wash or covering effect
- Can be touched up locally and is easy to maintain
- Also suitable for children's toys
Why paint the countertop?
If you want to give your kitchen a new look, painting the countertop is the ideal solution. By painting the countertop, you can give the kitchen a completely new look without having to completely renovate it. Moreover, painting the countertop is many times cheaper than purchasing a completely new kitchen. Painting the countertop is a challenging job, but it is certainly not impossible. However, make sure to gather enough information before you start. You naturally want to avoid having to replace the kitchen countertop after all.
Countertop paint colors
How can you paint the kitchen countertop?
Before you start painting the countertop, you must first make preparations. You can only achieve an optimal result when the surface is thoroughly clean, dry, and dust-free. Therefore, start by clearing the countertop. Remove all items so that you can easily reach everything while painting. Don't forget to remove or tape off the sink as well. If you don't do this, you still won't be able to reach everything. Moreover, you want to prevent paint from getting around the sink. Have you completely cleared the countertop? Then you can start cleaning the surface.
After the countertop has been completely cleared, it needs to be sanded. This removes any paint or treatment that may still be on it and ensures a smooth surface to which the paint can adhere well. When sanding, start with coarse grit and finish with fine grit sandpaper. We recommend starting with 40 grit sandpaper, then using 80 grit sandpaper, and finishing with 120 grit sandpaper. After sanding, thoroughly remove all dust from the surface. This ensures the best final result.
Applying countertop paint
Once the countertop has been sanded and cleaned, it is time to start painting. We are happy to provide a step-by-step plan to follow for painting your countertop.
- Open the can and mix the product thoroughly. This ensures that the ingredients mix well.
- Next, apply a thin, even layer of the product. Use a brush for corners and small surfaces. For larger surfaces, you can use a roller. Allow the product to dry for at least 24 hours before applying the second coat.
- Once the first coat is completely dry, you can apply a second thin layer of the product. This layer must also be dried for at least 24 hours.
- Once the top coat has dried completely to your liking, your countertop is ready for heavy use. Put the sink back in place or remove the tape and enjoy your new kitchen!
Supplies
Need help with your DIY project?
Are you looking for a tutorial or do you have a technical question?
DIY help needed?
find a step-by-step guide for your project in our tutorial overview
