Removing grease stains from your wooden floor
Grease stains occur because the protective layer of the floor has worn away and grease penetrates the wood. Therefore, it is recommended to clean the floor with Osmo Intensive Cleaner and then apply a new protective layer to prevent new stains.
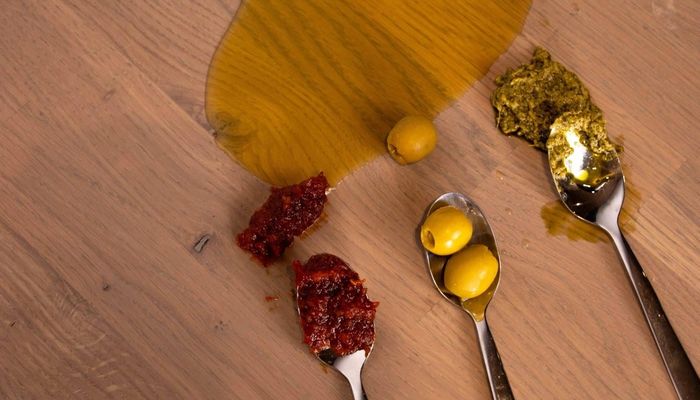
Products in this knowledge item;
How do you remove grease stains from your wooden floor?
Do you want to remove a grease stain from your wooden floor? If so, the protection of your wooden floor is likely no longer optimal. With an oiled floor, you can remove the grease stain without having to sand. After removing the stain, it is essential to maintain your floor. For this, we recommend the Osmo Renovation Bundle, in combination with the Osmo White and Green Pads.
The Renovation Bundle contains the Osmo Intensive Cleaner, which allows you to remove the grease stain from the wooden floor. To prevent future (grease) stains, we advise applying a layer of Osmo Maintenance Oil. Below, we provide a clear step-by-step plan to remove the grease stain from your floor and then oil it.
Benefits of Intensive Cleaner
- Very powerful cleaner
- High yield, 1L = cleans 100m2
- Easy to use
- Removes ingrained dirt from the wood
Tips: Removing grease stains from your wooden floor
Grease stains can also be removed with Osmo. Do you already have Osmo Wisch-Fix (floor cleaner) at home? Then you can try scrubbing the parquet surfaces with this cleaner (diluted with water); for mopping, you can use the Osmo Mop. For scrubbing, you can use an Osmo green pad.
If Osmo Wisch-Fix does not clean sufficiently, you can consider Osmo Intensive Cleaner. This powerful cleaner must also be diluted with water and then applied by scrubbing with the green pad. After cleaning, we recommend protecting the plank(s) with grease stains with Osmo Maintenance Oil. This oil is suitable for treating an ‘oil-treated’ wooden floor and provides a new protective layer for the wood so that no grease stains will appear in the future.
Read the instructions for use of the Floor Renovation Bundle carefully before you start!
Products for removing grease stains from your floor
How a grease stain forms on your floor
Preventing a grease stain on your floor is better than curing it. It is stating the obvious, but it is the truth. To prevent grease stains, it is good to know how they form. In most cases, a grease stain is a sign that the treatment no longer provides adequate protection. When the protective layer is worn down, the stain can penetrate and is no longer easy to remove with water or a simple cleaning agent.
Prevent grease stains on your floor through periodic maintenance
- Ensure that you keep the protective layer well-nourished by mopping every two weeks with Osmo Wisch-Fix.
- Twice a year, we recommend mopping the floor with the Osmo Wax Refresher.
- When bare or dry spots appear in the protective layer, we recommend polishing with Osmo Liquid Maintenance Wax and Cleaner.
- Depending on the intensity of use, it is advisable to refurbish the floor with the Floor Renovation Bundle.
The grease stain does not go away after cleaning.
If the stain does not disappear after cleaning with Wisch-fix or Intensive Cleaner, the only option left is sanding. Sanding the entire floor is not desirable because it entails relatively high costs. The most common option is therefore to sand only the affected planks. Often, this is not desirable because it can create a difference in appearance compared to the other floorboards. Therefore, preventing stains is better than curing them.
Step-by-step plan for local touch-ups by sanding:
- Tape off planks containing stains with painter's tape.
- Sand with grit 40, 80, or 120 until the treatment and the stains are sanded away evenly from the planks. We recommend doing this with a sanding machine.
- Treat the wood with the same Hardwax Oil or oil product used to treat the rest of the floor. Read the instructions carefully.
- Allow the first coat to dry, approximately 8 to 12 hours. Apply a second coat if necessary. For Osmo Hardwax Oil, two coats are recommended, but some oil variants only need to be applied in one coat. Read the product label carefully and follow the steps described on the can.
Need help with your DIY project?
Are you looking for a tutorial or do you have a technical question?
DIY help needed?
find a step-by-step guide for your project in our tutorial overview
