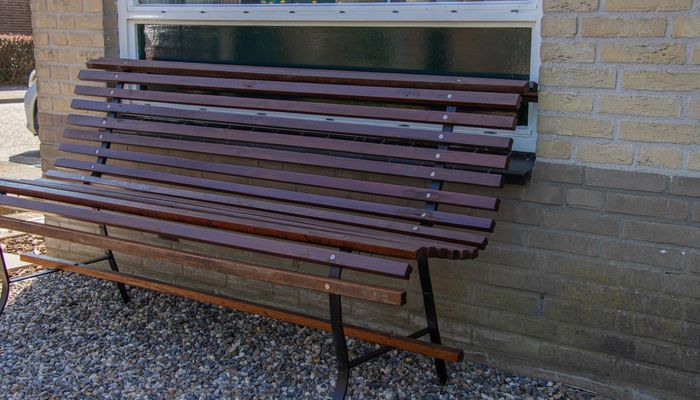
Simple step-by-step plan: Staining garden furniture
Garden furniture weathers quickly due to UV radiation, rain, and moisture, causing it to discolour and wear out faster. With Osmo Natural Oil Stain, you protect the wood for a long time and maintain a beautiful, well-kept appearance.
Products in this knowledge item;
Protecting garden furniture from sun and rain
Throughout the seasons, your beloved outdoor furniture is exposed to elements that can significantly shorten its lifespan. By staining your garden furniture, you can not only extend its lifespan but also give it a personal touch. Discover how to stain your garden furniture in this step-by-step guide.
Why stain your garden furniture?
Staining garden furniture is an essential step for anyone who wants to protect and enhance their outdoor furniture. First of all, stain offers a shield against harsh weather influences. This includes harmful UV rays that can cause wood to fade, and rain or moisture that can lead to rot or mold. By reducing the wood's water absorption, stain also helps prevent swelling and shrinking of the material. Additionally, a colored stain protects wood against graying caused by the sun. Beyond the practical benefits, stain enhances the natural appearance of the garden furniture. With stain, your furniture continues to look new and well-maintained for longer.
Choose the right stain
The choice of stain for your garden furniture is crucial. After all, not all stains are created equal. Composition, quality, and protection can vary greatly. A good stain protects the wood against external factors such as UV radiation, moisture, and temperature fluctuations, while simultaneously highlighting the natural texture of the wood.
Osmo’s Natural Oil Stain stands out in this regard. This stain is formulated with natural oils that penetrate deep into the wood. This ensures robust protection that not only works on the surface but also protects the wood from the inside out against moisture, dirt, and damage. Furthermore, Osmo’s Natural Oil Stain has the unique ability to nourish the wood, which helps maintain its flexibility and resistance to cracking or splitting.
Before you begin – supplies and preparation
Before you begin, we recommend gathering everything you need first. Choose the right garden furniture stain that suits your wood type and desired look.
Preparing garden furniture
Before you can start staining the garden furniture, it may need to be prepared first. Are you staining new garden furniture? Then you can usually get started right away. Is the garden furniture greyed? Then it is advisable to remove the greying first. You can do this using the Osmo Power-Gel Wood Degreaser. Does the garden furniture still have an old layer of lacquer, paint, or stain? Then you will need to sand it off. For an optimal base to which new stain can adhere well, it is recommended to sand the furniture in three steps. Start with 40 grit sandpaper, then continue with 80 grit, and finish with 120 grit. After sanding, make sure the furniture is completely dust-free with a brush or wipe it down with a slightly damp cloth. Before you start staining, the garden furniture must be completely dry. After rain, it is best to wait 24 hours. Avoid working in direct sunlight; bright sun can cause the finish to dry too quickly, which can lead to an uneven appearance. Are there parts that should not be stained? Then mask them off.
Staining Wooden Garden Furniture – step-by-step instructions
Are you ready to stain your garden furniture? We are happy to help you get started with a step-by-step plan.
- Stir the can of Natural Oil Stain well with the stirring stick for about a minute. This distributes the ingredients and pigments throughout the product.
- Start at the bottom of the furniture. Use a brush for this. Apply thin coats, following the direction of the planks and covering the entire length of the surface as much as possible.
- Run over the bottom of the furniture thoroughly with a nearly dry brush. This ensures that any brush strokes are removed.
- Turn the furniture over – if possible. Apply stain to the top of the furniture. Apply thin coats, following the direction of the planks and covering the entire length of the surface as much as possible.
- Run over the top of the furniture thoroughly with a nearly dry brush. This ensures that any brush strokes are removed. Also, wipe away any fingerprints made while turning the furniture over.
- Allow the furniture to dry for 4 to 6 hours (at 23 degrees and 50% relative humidity). Drying will take longer at lower temperatures or higher humidity. Good ventilation must be ensured at all times. Therefore, ensure that it is not applied during bad weather and rain.
- Apply a second coat (see points 2 to 5).
- Allow the second coat of stain to dry for 10 to 12 hours (at 23 degrees and 50% relative humidity).
Maintain garden furniture
Now that the garden furniture has been freshly stained, you naturally want to keep it looking beautiful for as long as possible. To achieve this, proper maintenance is essential. Try to clean the furniture thoroughly at least twice a year, for example at the beginning and end of the outdoor season. You can do this with soapy water and an all-purpose cleaner. Do you want to clean the wood really well and remove dirt and algae? Then it is best to use the Osmo Patio Cleaner. This product is extremely suitable for cleaning outdoor wood.
Does the furniture eventually need a new layer of protection? For example, is the wood showing through the color layer or are they showing signs of wear? Then you can easily apply a new layer of the same color after cleaning. Because the Natural Oil Stain adheres to the wood, it will not peel or crack. From now on, you will therefore never have to sand again!
Need help with your DIY project?
Are you looking for a tutorial or do you have a technical question?
DIY help needed?
find a step-by-step guide for your project in our tutorial overview
