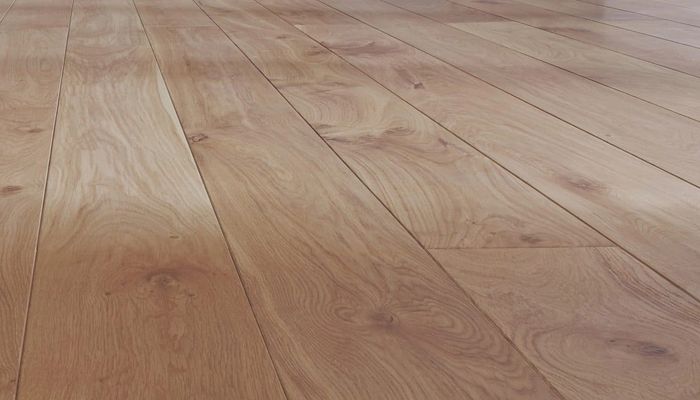
Repairing a Wooden Floor
Scratches, holes, and warping make your wooden floor vulnerable to further wear and moisture. With Osmo Repair Paste and Osmo Wood Filler, you can quickly repair damage and restore your floor's well-maintained appearance.
Products in this knowledge item;
Restoring a wooden floor: tackling scratches, holes, and warping
A wooden floor gives your home warmth and character, but what if damage occurs? In this article, we give you tips to effectively repair your wooden floor, from scratches and stains to filling holes. This way, you can fully enjoy a radiant, restored floor again!
Why repair your wooden floor
Refurbishing your wooden floor isn't just practical; a floor full of scratches and dents isn't exactly elegant. Let's be honest, a worn floor doesn't do your home's value any good. But don't worry, a little touch-up can work wonders! By repairing the floor, you prevent further wear and tear and keep moisture and mold at bay. By giving your floor some love and attention, you ensure it lasts for years to come.
Repairing scratches in your wooden floor
Is the floor suffering from scratches? Fortunately, scratches are easy to remove with Osmo Repair Paste. This paste has been specially developed to repair minor damage to wooden surfaces, such as scratches. Use the Repair Paste as follows:
- Clean and dry the floor thoroughly.
- Apply a thin layer of repair paste with a lint-free cloth, rubbing it in along the direction of the wood grain.
- Allow the treated surface to dry for 8-10 hours.
- Repeat the treatment 2 to 3 times if necessary, until the scratch is completely gone.
Can't you remove the scratch with the repair paste? Then it is necessary to sand the wood. Mask off the plank or planks with the scratch and sand the wood with grit 40 and then grit 80 until the scratch is no longer visible. Then sand with grit 120 to remove the sanding marks. After sanding, remove all dust from the wood and reapply the original treatment in its entirety.
Filling holes in your wooden floor
Do you want to repair a knot in the wood? Or do nail holes need to be filled? You can use Osmo Wood Filler for that. This product is available in five different wood colors and is ready to use immediately. Please note: this filler is only intended to fill small holes, of just a few millimeters.
Before you start, it is wise to first do a test on an inconspicuous spot. This way, you get a feel for the product and can test whether you are satisfied with the final result. Was the test successful? Then you can get started with the real work! You do this as follows:
- Clean and dry the wood thoroughly.
- Apply the filler to sanded or untreated wood with a spatula or putty knife.
- Let the surface dry for 2 hours.
- After drying, you can sand the wood and treat it with an Osmo finish of your choice.
Is your wood color not among the options? Or do you need to fill many holes? Then you are better off using Osmo Joint Sealant.
Repair crooked floor
Are you dealing with a warped floor? A floor can warp for various reasons. The most common causes are moisture, temperature fluctuations, improper installation, and a lack of maintenance. We would love to give you the ultimate tip for fixing a warped floor, but unfortunately, there is no single one. Once the wood is warped, it will often remain so. If the warping is minimal, sanding can sometimes help to level the wood. If the damage is somewhat more extensive, replacement is often the only solution.
Before attempting to repair the warped floor, it is essential to first determine the cause of the warping. Is it due to moisture, poor installation, or is there something else going on? Resolve the cause first before replacing planks; this will prevent new planks from eventually warping as well. If moisture is the cause of the problem, the area must be dried first. Afterward, the warped planks can be carefully removed. Do this gently, otherwise surrounding planks may be damaged. Then, install new planks. Treat these with the same coating as was initially applied to the floor to properly protect the planks.
Supplies for a floor repair
Need help with your DIY project?
Are you looking for a tutorial or do you have a technical question?
DIY help needed?
find a step-by-step guide for your project in our tutorial overview
