Applying stain: handy tips & step-by-step plan
Applying stain seems simple, but the right technique makes all the difference. Read how to achieve an even result.
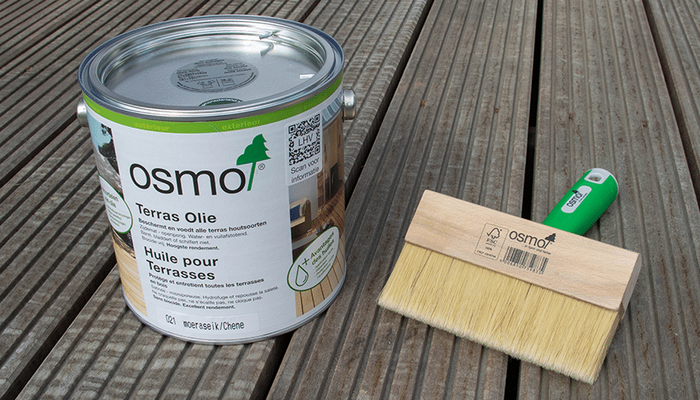
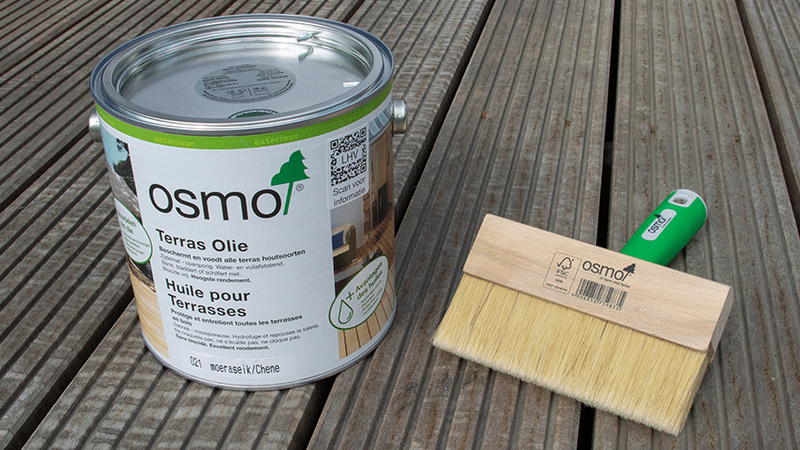
What you need for this tutorial;
Do you want to protect your wood and preserve its natural appearance? Applying stain correctly is essential to keep your wood well protected against moisture, dirt, and the elements. In this article, we explain step by step how to apply stain and how to achieve the best results.
Preparation before staining
Proper preparation before staining ensures that the stain adheres well and offers optimal protection. Take the condition of your wood surface into account. Additionally, it is wise to perform a color test beforehand using an Osmo sample. This ensures that the desired appearance is achieved and that the stain is absorbed evenly.
Sanding (for older paint or stain layers)
Has the wood been treated with paint or stain before? Then sand thoroughly using sandpaper in grit order 40, 80, and 120. This removes any old lacquer or primer that may still be on the wood. Afterward, perform a test to check the adhesion of the new stain.
Untreated wood
Applying stain to untreated wood is easier. This wood absorbs the first coat of stain more quickly. The stain penetrates the wood immediately. Ensure that the surface is clean and dry before you begin applying the stain.
Grayed or soiled wood
For older wood that has turned gray, use a wood degreaser such as Osmo Power-Gel. This restores the original color. After preparing and cleaning the surface, you can apply the stain.
Step-by-step plan: Applying stain
Follow these steps to apply stain properly and ensure proper protection.
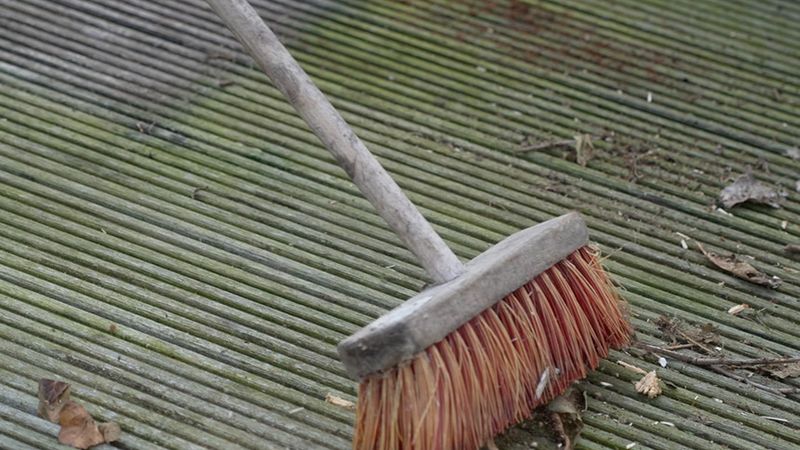
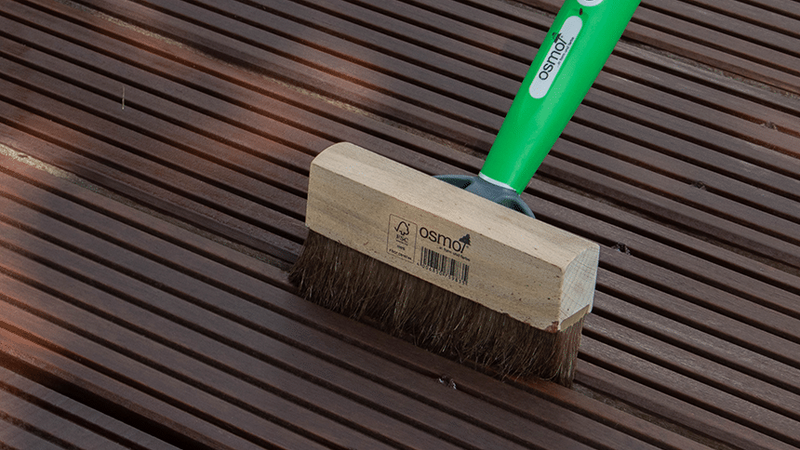
Clean the surface
Use a stiff brush to remove dirt, dust, and algae. For thorough cleaning of patios, garden furniture, and fences, you can use the Osmo Patio Cleaner. Preferably work on a dry day with temperatures between 10°C and 25°C.
Choose the right stain
Depending on the desired result and look, you choose the correct stain. At Osmo, you have a choice of different types of stain. Which stain will you choose?:
Color option (with pigment): Use Osmo Natural Oil Stain or Osmo Patio Oil if you want to apply a color pigment for extra protection against the sun.
Colorless or untreated look for vertical surfaces: Use Osmo UV Protection Oil, ideal for fences and facades to prevent graying.
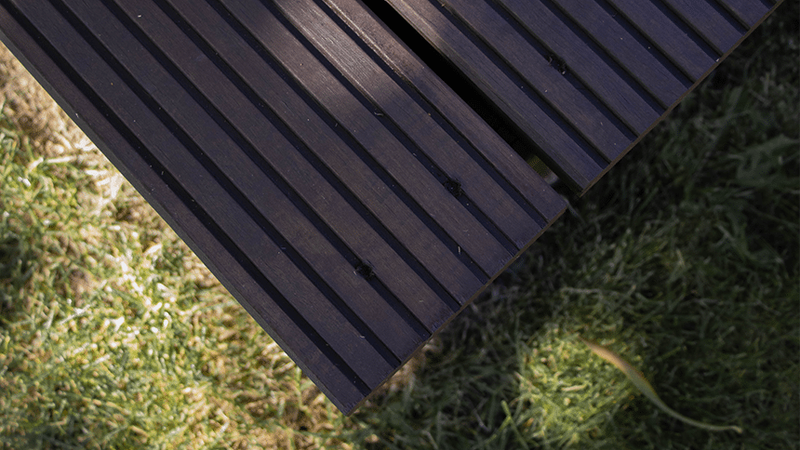
Treatment for horizontal surfaces: Use Osmo Patio Oil for the protection of decking, patios, and other horizontal surfaces.
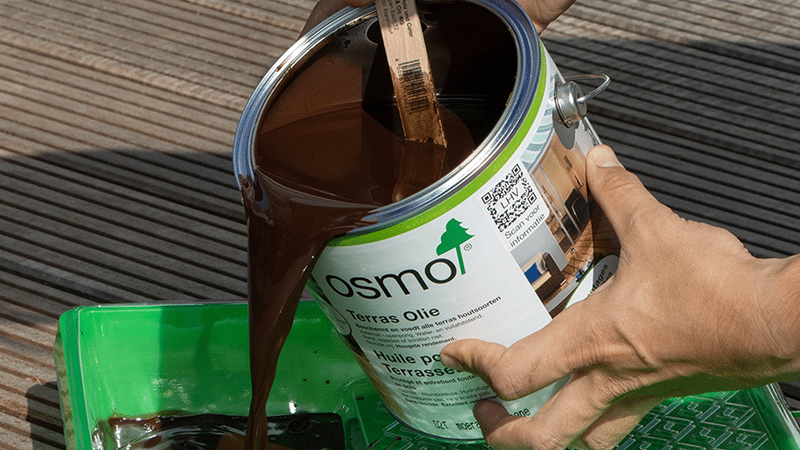
Apply the first layer
- Shake or stir the stain.
- Use a brush or roller to apply a thin, even coat of the stain. Always work in the direction of the wood grain.
- Allow the first coat to dry thoroughly (12 to 24 hours). Protect the surface from water during this drying process.
Apply a second coat of stain
Osmo is a two-coat system. Applying a second coat of stain is therefore necessary for optimal protection and a longer lifespan. It also prevents the wood from warping.
Allow the stain to cure completely.
Avoid contact with water or other liquids during this period. After drying, check whether any droplets have remained on the surface.
Benefits of applying stain with Osmo products
- Extended lifespan: Protects the wood against weathering for a long time.
- Optimal protection: Prevents moisture and dirt penetration.
- No primer needed: Osmo stain adheres directly to untreated wood.
- Wood grain visible: Stain preserves the natural character of the wood.
- Easy maintenance: Sanding is not necessary for subsequent treatments.
Tips for a sleek end result
- Apply thin coats of stain to avoid waste.
- Use a color test on a small piece of wood to select the correct stain color.
Supplies
Osmo Natuurlijke Olie-Beits Color examples
UV protection oil: for standing wood parts
Terrace Oil: for horizontal wood parts
Maintenance advice
Clean your wood surface at least twice a year with Osmo Patio Cleaner, for example in spring and autumn. Check annually whether the protective layer is still intact and apply a new coat of stain if necessary.
Frequently asked questions
This tutorial belongs to
What you need for this tutorial;
Need help with your DIY project?
Are you looking for a tutorial or do you have a technical question?
DIY help needed?
find a step-by-step guide for your project in our tutorial overview
