Difference between stain and varnish: which offers the best protection?
Stain and varnish are often confused, but they differ significantly in how they work. Read about the difference and which finish suits your project.

What you need for this tutorial;
When you want to protect and finish wood, you are often faced with a choice: stain or lacquer? Although stain and lacquer protect wood, they work in very different ways.
At Osmo, we believe in the benefits of stain and therefore do not offer lacquer. Lacquer lays a hard layer on the wood, whereas stain penetrates the wood and protects it from the inside out. This makes stain a moisture-regulating product and ensures that the wood grain remains visible, whereas lacquer often provides a glossy, dense finish.
Stain or lacquer? In this article, we discuss the differences between stain and lacquer.
Advantages and disadvantages of stain and varnish
Before choosing between stain and varnish, it is important to know what both products do and what effect they have on wood.
What is varnish and how does it work?
Varnish forms a hard protective layer on the wood, sealing the surface. This ensures a strong and waterproof finish, but can have disadvantages in the long run.
✔ Advantages of varnish:
- Provides an even finish and can give a beautiful shine.
- Varnish protects against dirt and moisture for some time because it forms a dense layer.
- Available in various variants such as transparent varnish, water-based varnish, and solvent-based varnish.
✖ Disadvantages of varnish:
- Varnish creates a hard layer, preventing the wood from breathing and causing it to crack or peel more quickly.
- Sanding and primer are required for maintenance, or resanding and varnishing.
- Less suitable for outdoor use; moisture can seep under the varnish layer, which can cause the wood to rot. Wood grain disappears under the lacquer layer, especially with opaque variants.
- Regular maintenance required. To keep the lacquer layer intact, you must reapply or touch it up over time, especially in areas with heavy wear.
What is stain and how does it work?
Stain penetrates the wood and protects it from the inside out, without forming a hard layer. As a result, the wood grain remains visible and the wood can breathe, minimizing the risk of cracking and peeling.
✔ Advantages of stain:
- Moisture-regulating, ensuring the wood remains well protected against weather influences.
- Wood continues to breathe, making it less prone to cracking or peeling.
- No primer needed; can be applied directly.
- Maintenance without sanding: a new layer can be applied over the old one.
- Available in transparent and opaque stains, allowing you to determine the coverage yourself.
✖ Disadvantages of stain:
Longer drying time; it usually has a longer drying time than, for example, lacquer or paint.
Less shine. Over time, it can discolor due to UV rays, especially with transparent variants. The wood may then turn gray. Fortunately, you can remove this with Osmo Power-Gel.
Why does Osmo choose stain?
At Osmo, we believe in the natural protection of wood. That is why we work exclusively with stains and do not offer lacquer. Osmo stains protect wood for a long time and make maintenance easier than with lacquered surfaces.
Do you want a natural look where the wood grain remains clearly visible? Then choose Osmo stain:
- Osmo Natural Oil Stain: Provides color and protection without sealing the wood.
- Osmo UV Protection Oil: Perfect for vertical elements such as fences and window frames, prevents graying.
- Osmo Deck Oil: Specially developed for decking and patios, protects against moisture and dirt.
Step-by-step plan: applying stain to wood
Do you want to protect wood sustainably with stain? Then follow these steps:
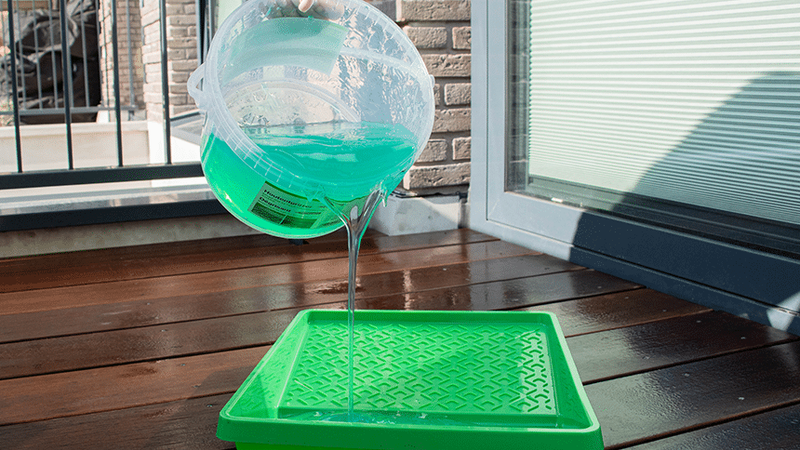
Clean the surface
- Use Osmo Patio Cleaner for a clean and grease-free surface
- For greyed wood: use Osmo Power-Gel Wood Degreaser.
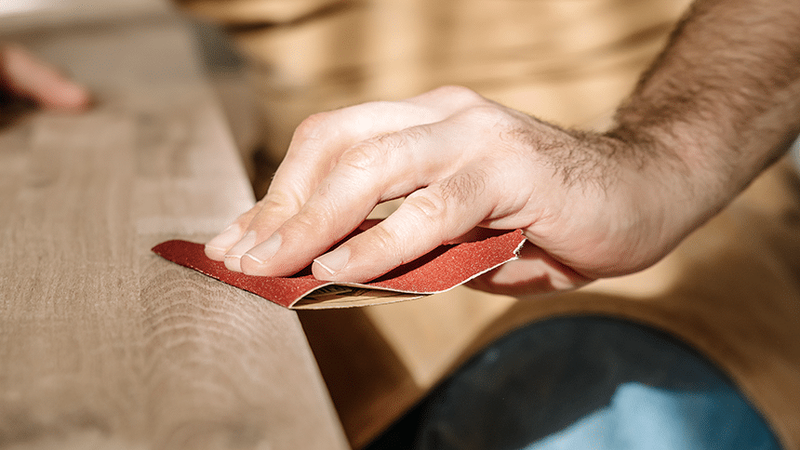
Preparation of the wood
- Sanding: Use grit 40/80/120 if there is an old layer on it.
- Untreated wood: Allow the wood to acclimatize for 4-6 weeks, then de-grey it and subsequently treat it.
- Oiled wood: Test whether the new layer adheres well using a sample.
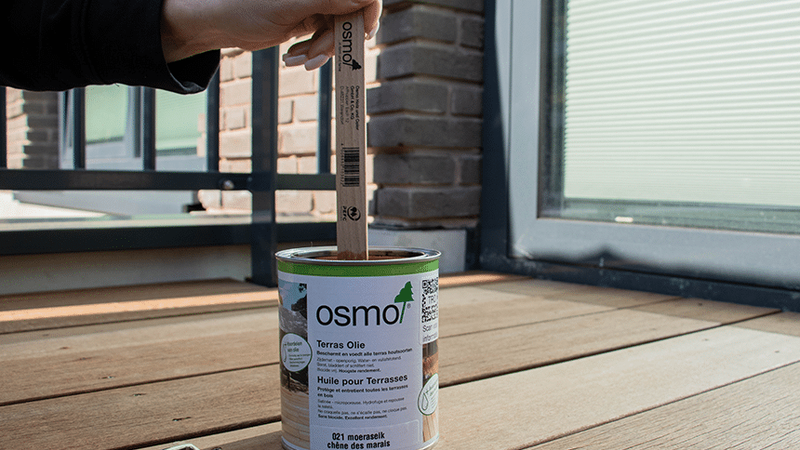
Apply stain
- Stir the stain well.
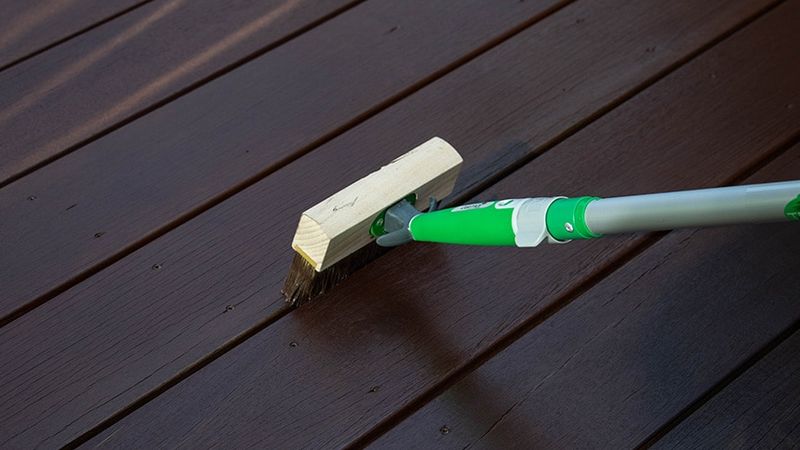
- Use a roller (10 cm) or block brush for patios, or a regular brush for fences and furniture.
- Apply a thin coat of stain in the direction of the wood grain.
- Allow the first coat to dry for 8 to 12 hours.
Apply second layer
- For optimal protection, a
- Allow to dry again for 8 to 12 hours.
Allow the stain to cure completely.
Avoid contact with water until the stain has fully cured.
Tips for the best results
- Always apply stain in thin coats to achieve even coverage.
- Work in dry weather, at temperatures between 10°C and 25°C, for best drying.
- Test the color beforehand with a sample on a small piece of wood.
Supplies for staining wood
Apart from these products, you will also need sandpaper (grit 40/80/120).
Osmo Natural Oil Stain Color Samples
Osmo stain is available in various colors, including transparent and opaque variants. Some popular choices are:
- Opaque black stain (for a modern opaque finish)
- Transparent stain (preserves the natural wood grain)
- White stain (for a fresh, light look)
Want to be sure the color is to your liking? Order a sample and test it beforehand!
UV protection oil: color examples for upright wood parts
Terrace Oil: color examples for horizontal wood parts
Maintenance of stained wood
- Clean dirt and stains with Osmo Deck Cleaner.
- Treat wooden decks twice a year to prevent slipperiness.
- Check annually whether a new coat of stain is needed.
Frequently asked questions about stain and varnish
This tutorial belongs to
What you need for this tutorial;
Need help with your DIY project?
Are you looking for a tutorial or do you have a technical question?
DIY help needed?
find a step-by-step guide for your project in our tutorial overview
