Douglas stain black: the best protection and appearance
Douglas stain black provides a modern look and protection. Read what to look out for to achieve a sleek result.
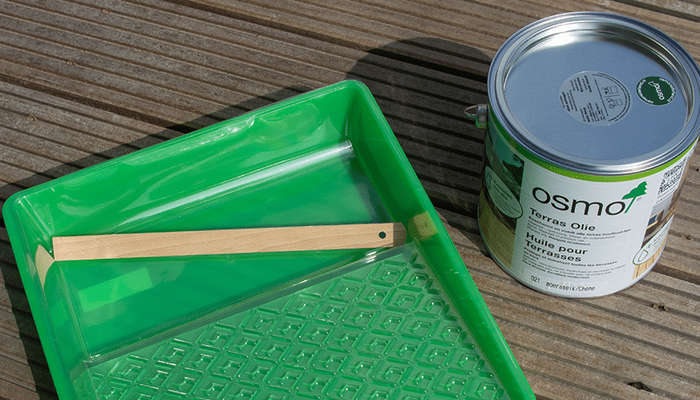
What you need for this tutorial;
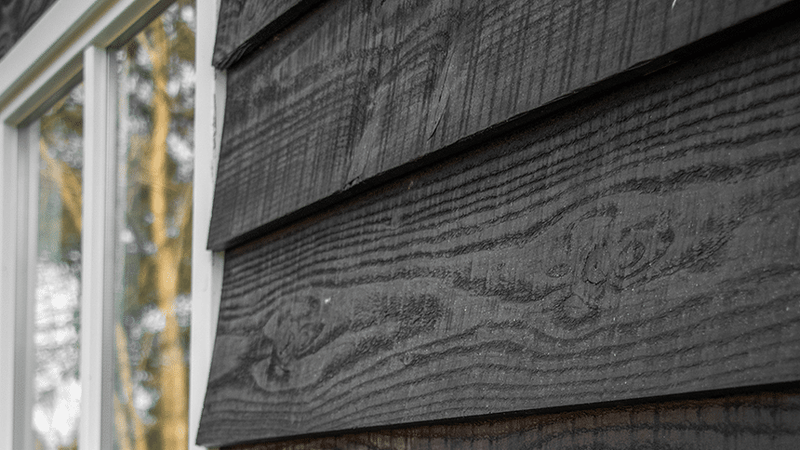
Douglas fir is a popular choice for fences, garden timber, log cabins, and garden houses. Staining Douglas fir black gives it a robust and stylish look, while the wood remains well protected against weathering and graying.
Do you want an opaque black color, or would you prefer a more transparent finish where the wood grain remains visible? In this article, you will learn how to stain Douglas fir black and which products are most suitable for this purpose.
Preparation before staining Douglas fir black
Proper preparation ensures a beautiful end result and a longer lifespan for the stain.
1. Sanding
If the wood has a treatment other than oil, use grit 40/80/120.
Is the surface oiled? Create a test area to see if sanding is necessary.
2. Untreated wood
Is it untreated? Then we recommend letting the wood acclimatize for 4-6 weeks first. After that, you can start staining immediately.
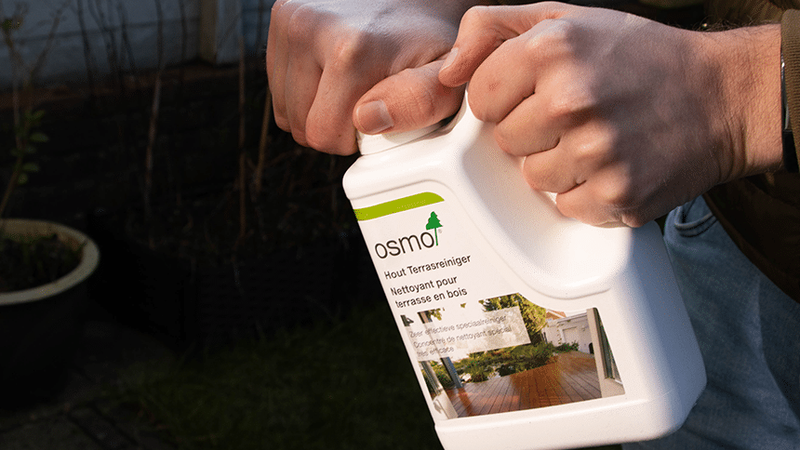
3. Cleaning grayed or dirty Douglas fir
Use Osmo Power-Gel Wood De-greaser to remove old paint layers and dirt.
Ensure the wood is grease-free and dry to the touch before applying the stain.
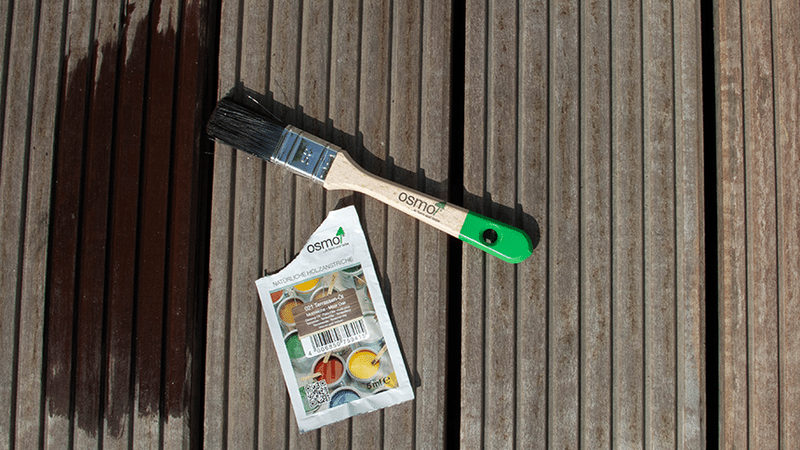
👉 Tip: Order a sample and test beforehand to see if the appearance meets your expectations.
Step-by-step plan: Staining Douglas fir black in 5 steps
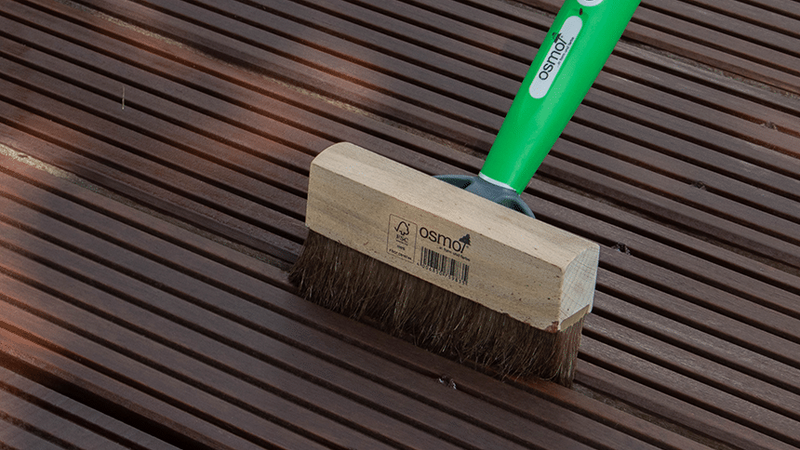
Clean the surface
- Use Osmo Patio Cleaner to remove dirt, dust, and green deposits.
- For greyed or heavily soiled wood, use Osmo Power-Gel Wood Degreaser to restore the original color.
- Ensure the wood is grease-free and dry before applying the stain.
Choose the right black stain for Douglas fir
Depending on the desired finish, choose an Osmo stain:
- Osmo Natural Oil Stain Black: Less opaque appearance, where the wood grain remains visible.
- Osmo Country House Paint 9005 Jet Black: Opaque appearance for an even, rich black color.
Apply the first coat of stain
- Stir the stain well for an even consistency.
- Use a brush or roller and apply a thin layer of stain in the direction of the wood grain.
- Allow the first layer to dry for 8 to 12 hours.
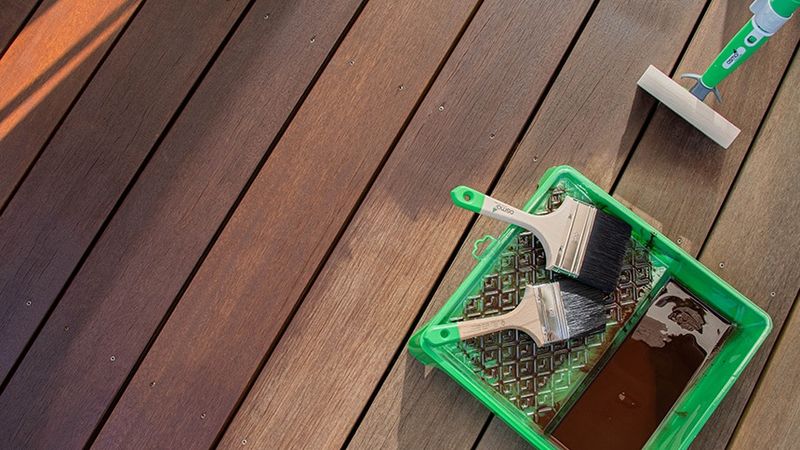
Apply a second coat
- For optimal protection, a second coat is required.
- Apply the second coat in the same way and let it dry for another 8 to 12 hours.
👉 Advantage of Osmo stain: In the future, you will not need to sand before applying a new coat.
Allow the stain to cure completely.
- Avoid contact with water until the stain has fully cured.
Advantages
Staining Douglas fir black with Osmo products offers several benefits:
- Protects against moisture, UV radiation, and mold.
- Prevents graying and peeling.
- Provides a stylish black color with or without visible wood grain.
- Easy to apply without primer.
Tips for the best result
⭐ Apply in thin layers to prevent staining.
⭐ Stain in dry weather, between 10°C and 25°C, for best drying.
⭐ Test the color beforehand with a sample on a small piece of wood.
⭐ Store in a tightly closed container.
⭐ Avoid clothing
Color examples Osmo Natural Oil Stain
Osmo Country House Paint
Maintenance of black stained Douglas fir
- Clean dirt and stains with Osmo Patio Cleaner.
- Treat patios twice a year to prevent slipperiness.
- Check annually whether a new coat of stain is needed.
Supplies for staining Douglas fir black
Apart from these products, you will also need sandpaper (grit 40/80/120).
Frequently asked questions about Douglas stain black
This tutorial belongs to
What you need for this tutorial;
Need help with your DIY project?
Are you looking for a tutorial or do you have a technical question?
DIY help needed?
find a step-by-step guide for your project in our tutorial overview
