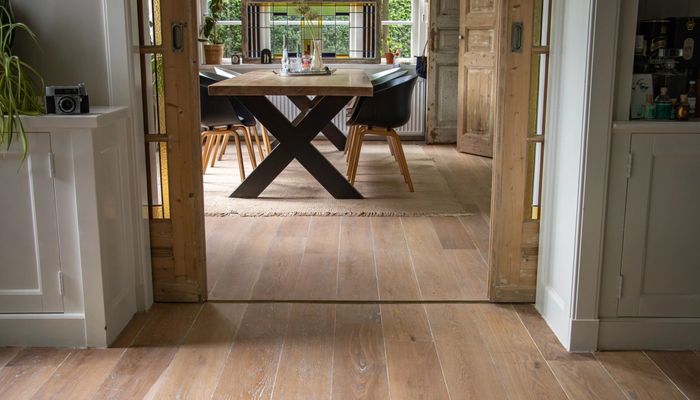
Everything about floor oil: protection and appearance for your floor
An oiled wooden floor receives protection, color, and a natural look with floor oil, and remains beautiful thanks to regular maintenance.
What you need for this tutorial;
A wooden floor is a natural product that lives and breathes. With the right floor oil, you ensure that your floor remains well protected against stains, dirt, and wear, while preserving its natural appearance. Moreover, you can choose from various types of oil and finishes so that the floor fits perfectly with your interior.
In this article, you will read how best to treat a wooden floor with oil, what looks you can achieve, and how to easily maintain the floor afterwards.
Preparation: before applying floor oil
Good preparation determines the final result. Depending on the condition of your floor, choose one of these scenarios:
- Untreated floor → sanding is not necessary; you can start oiling immediately.
- Already treated floor → first sand in 3 steps: grit 40, 80, and 120. This removes old layers of lacquer or paint and creates an open surface.
- Maintenance or new layer → use the Osmo Renovation bundle. With this, you clean and nourish the floor without the need for sanding.
👉 Always test on an inconspicuous spot beforehand to ensure the oil adheres well and the appearance is to your liking.
Step-by-step plan: applying floor oil
Applying floor oil to a wooden floor is easy to do yourself. With this handy step-by-step plan, you will achieve the best result.
You can treat your floor in 4 ways:
Untreated look → 1st coat Hardwax-Oil Effect, 2nd coat Hardwax-Oil Original.
Wash effect → 1st coat Oil Stain (buff out), 2nd coat Hardwax-Oil Original.
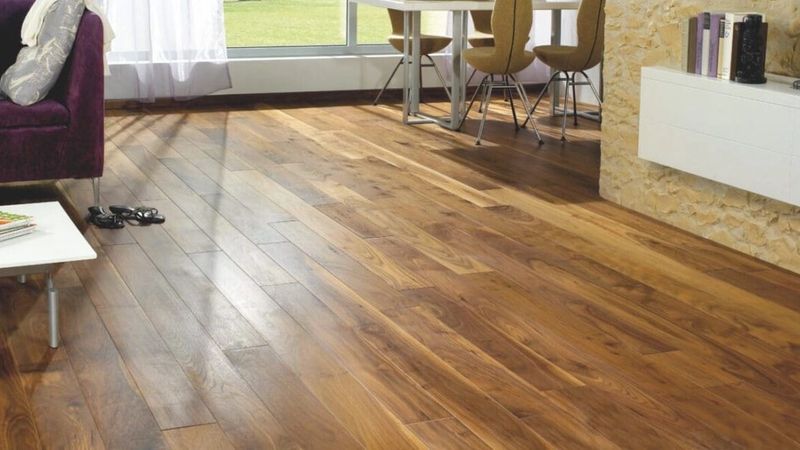
Wet look → 2 coats Hardwax-Oil Original.
Color → 1st coat Hardwax-Oil Farbig, 2nd coat Hardwax-Oil Original.
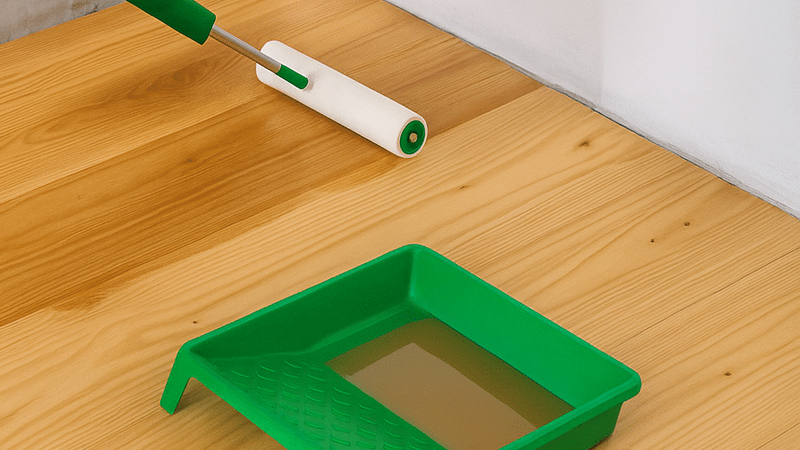
Apply the first layer of oil
Use a microfiber roller for large surfaces and a brush for edges. Roll thinly and evenly in the direction of the wood grain. Opting for a wash effect? With the oil stain, buff out the first coat with a cloth or pad.
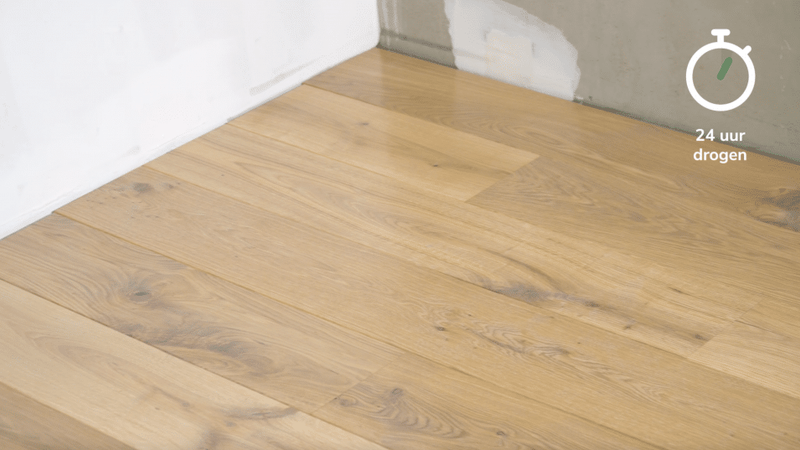
Let the oil dry
Depending on the product, the drying time takes 8–24 hours. Ensure good ventilation by opening windows and doors.
Apply the second coat
Repeat application with a microfiber roller. Work thinly and smoothly for the best result. This layer forms a protective layer against stains and dirt.
Check and correct
You can correct small mistakes, such as application streaks or excess oil, up to 30 minutes after application.
Benefits of Osmo floor oil
With Osmo floor oil, you benefit from these advantages:
- Provides a durable protective layer against moisture, dirt, and stains.
- Nourishes the wood from within, allowing it to continue breathing.
- Protection and appearance in one product.
- Can be touched up locally without sanding.
- Made from natural oils and waxes, safe for humans, animals, and plants.
- Suitable for various wooden floors such as oak, pine, and beech.
Tips for the best results
- Always apply in thin layers: too much oil slows down drying time and can remain sticky.
- Remove excess oil promptly with a lint-free cloth.
Supplies
Oil Stain Color Samples
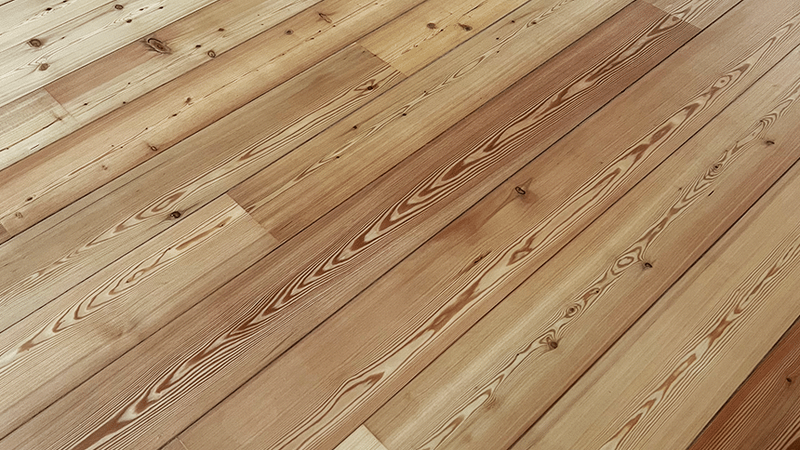
With floor oil, you can create various looks:
- Untreated effect → light, natural appearance thanks to Hardwax-Oil Effect.
- Wash effect → subtle color pigment in the wood grain with Oil Stain.
- Wet look → deepening of the wood color with Hardwax-Oil Original.
- Color → more intense look with Hardwax-Oil Farbig, available in multiple color shades.
This is how you choose the look that suits your interior.
Colored hardwax oil
Maintenance advice
An oiled floor is easy to maintain:
Daily cleaning → use Osmo Wisch-Fix for mopping; it nourishes and cleans at the same time.
Light wear → treat with Osmo Liquid Maintenance Wax.
Required a new protective layer → clean with Osmo Intensive Cleaner and then apply Osmo Maintenance Oil.
Frequently asked questions
This tutorial belongs to
What you need for this tutorial;
Need help with your DIY project?
Are you looking for a tutorial or do you have a technical question?
DIY help needed?
find a step-by-step guide for your project in our tutorial overview
