Oiling a wooden floor: everything you need to know
Oiling a wooden floor is a popular choice for natural protection. Discover how to do it properly and what to consider for a lasting result.
What you need for this tutorial;
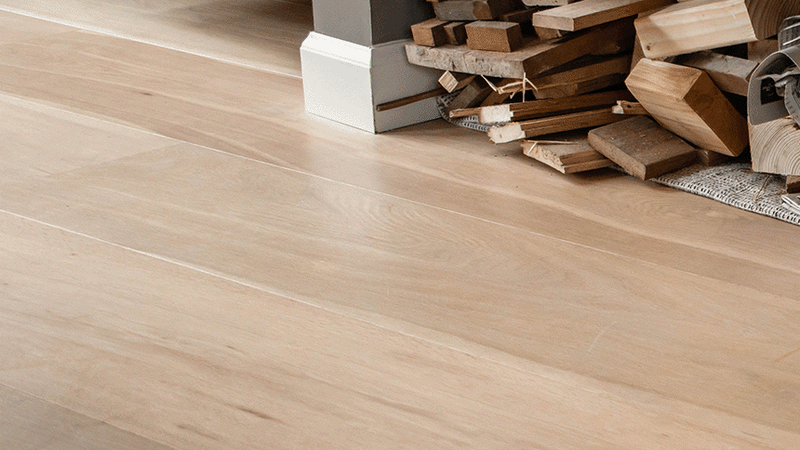
A wooden floor adds ambiance to a home. It's vibrant, feels warm, and has character. But as with all natural materials, wood requires proper care. Oiling a wooden floor is one of the most effective ways to protect it from dirt, moisture, and wear, while preserving its natural look.
Whether you're looking to treat a completely new floor, freshen up your existing oiled wooden floor, or are ready for a new color, this article will guide you step-by-step. It includes product advice, frequently asked questions, and helpful tips from the specialist.
Why oil a wooden floor?
Oiling a wooden floor allows the oil to penetrate the wood, protecting it from the inside out. Unlike varnish, oil doesn't form a seal on the floor, but allows the wood to breathe. This keeps the material functioning as it should and preserves its natural appearance.
In addition, oil provides protection against everyday wear and tear, such as stains, moisture, or scratches from sliding furniture. Oil prevents these influences from penetrating the wood more quickly and makes the floor easy to clean.
What type of wood is oil suitable for?
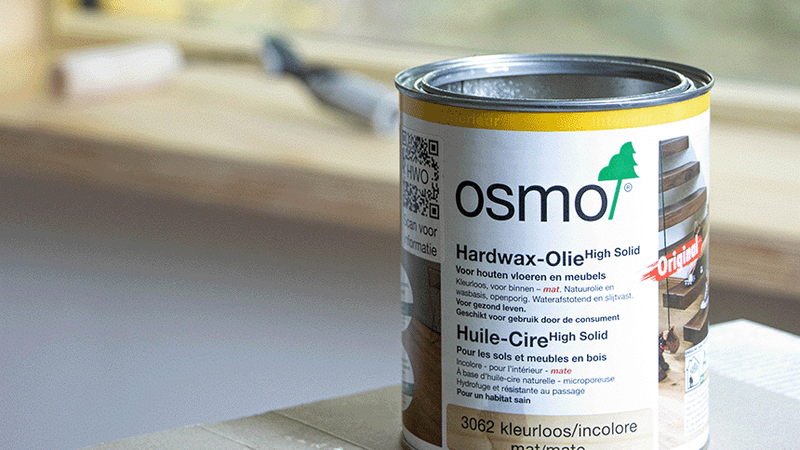
Virtually all wooden floors can be treated with oil. Consider wood species like oak, beech, etc. Note: tropical hardwoods (such as teak or jatoba) often have a tendency to absorb products like Osmo Hardwax Oil more reluctantly. That's why Osmo developed the Clear Wax, which is suitable for most hardwoods.
Step-by-step plan: oiling a wooden floor
Whether you have a newly installed floor or want to treat an existing wooden floor, proper preparation is essential. The method depends on the condition of your floor:
Determine the status of your floor
Untreated wooden floor
Is your floor new and untreated? Then you can start applying oil right away. Sanding is not necessary in this case. However, it is important that the floor is completely dry, clean, and dust-free before you begin.
Previously treated floor
Have you previously applied varnish or another oil finish from a different brand? Then the floor needs to be sanded down to the bare wood. Use grits 40, 80, and finally 120 for a nice, even result. This ensures that the oil can penetrate evenly.
Maintenance or renovation
Is the floor already oiled with Osmo and do you just want to freshen it up or repair some areas? Then you don't need to sand. With a renovation bundle consisting of an intensive cleaner and maintenance oil, you can easily touch up worn areas.
Choose the desired result
Depending on your taste and interior design style, you can choose a specific finish. Osmo offers various combinations that allow you to fully customize the look of your wooden floor:
- Untreated look: Hardwax-Oil Effect + Hardwax-Oil Original. An untreated look. Preserves the light color on light wood types.
- Wash effect: Oil Stain + Hardwax-Oil Original. Creates a wash or opaque effect.
- Wet look: 2 coats of Hardwax-Oil Original. For a deeper color with a gloss level of your choice.
- Even coloration: Hardwax-Oil Color + Hardwax-Oil Original. For an even coloration of the wood, while maintaining the wood grain.
Apply oil
Now that the floor is clean, dry, and properly prepared, you can start oiling:
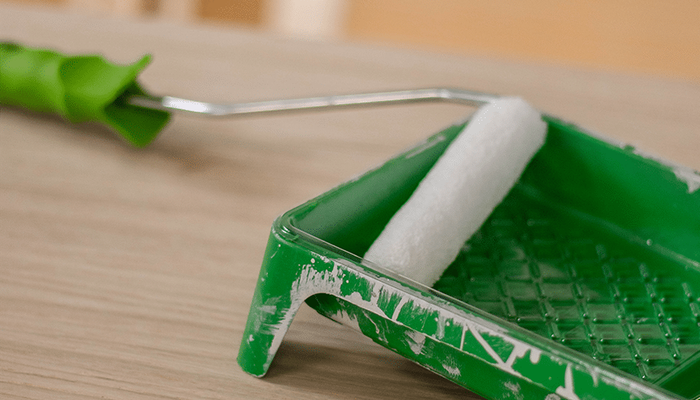
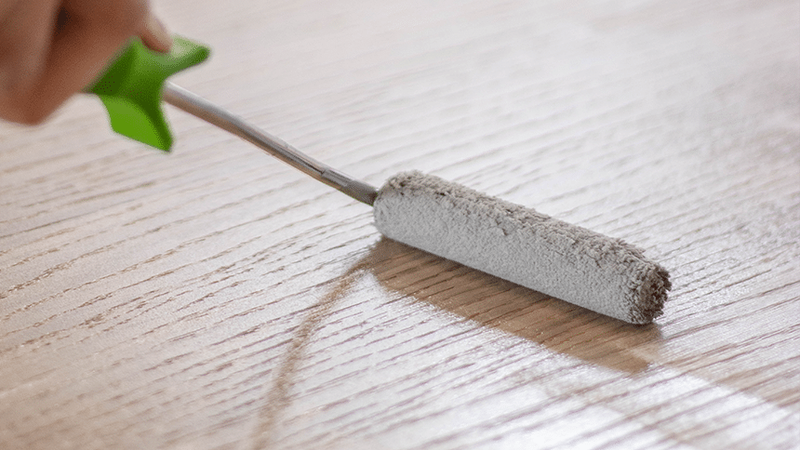
- Apply the oil with a microfiber roller, brush, or pad, depending on the instructions.
- Work in thin layers, following the direction of the wood grain.
- Let the oil dry for 8 to 12 hours. Ventilate well, but avoid drafts or direct sunlight.
- Apply a second coat. Finish with Osmo Hardwax-Oil Original.
- For products like Oil Stain, use an Osmo fleece pad or Osmo cotton cloth to remove excess oil. This prevents stickiness and staining.
For difficult areas such as corners, under radiators, or near skirting boards, you can use a small Osmo brush or Osmo easy pad. On stairs, a hand pad often works better than a roller.
Curing time
After the final coat, leave the floor alone:
- Do not walk on or load it for 24 hours.
- Do not replace furniture until after 48 hours (use felt pads).
- Fully cured after 7 to 10 days. Avoid moisture, cleaning products, and carpets during this period.
Oiling a wooden floor with underfloor heating?
Yes, that's possible! Please ensure that:
- The floor is no warmer than 18–20°C when applying.
- The heating is turned off 24 hours before and after oiling.
An oiled floor works well with underfloor heating because the Osmo oil and wax combination allows the wood to breathe.
Benefits of Osmo floor oil
Why choose Osmo? The benefits:
- The oil penetrates the wood and protects from within.
- Lets the wood breathe.
- Stain-resistant against wine, coffee, and other liquids.
- The protective layer won't crack.
- Durable and environmentally friendly, based on natural oils and waxes.
- Can be touched up locally without having to re-treat the entire floor.
Supplies for oiling a wooden floor
Make sure you have everything you need before you start:
Tips from the specialist
- Work from wall to wall in sections. Prevent streaks by rolling thoroughly.
- Work in thin layers.
- Ventilate well but avoid drafts, as these can cause streaks.
- When using a polishing product, remember to remove excess oil after the indicated time.
Maintenance advice: how to keep your oiled floor beautiful
Daily
- Sweep away loose dirt, sand, and dust with the Osmo Dust Cloth or vacuum cleaner.
- Use felt pads under chairs and furniture.
Weekly
- Mop with Osmo Wisch-Fix (specifically for oiled floors).
- Do not use harsh cleaners or all-purpose cleaners.
Yearly or when worn
- Use the Osmo Liquid Wax Refresher for an annual refresh.
- Osmo Liquid Maintenance Wax can be used to freshen up areas of wear and tear.
- This extends the life of your floor and maintains its natural look – year after year.
Frequently asked questions
This tutorial belongs to
What you need for this tutorial;
Need help with your DIY project?
Are you looking for a tutorial or do you have a technical question?
DIY help needed?
find a step-by-step guide for your project in our tutorial overview
