Opaque stain: optimal protection and a sleek appearance
Opaque stain combines color and protection. Discover when opaque stain is the best choice.

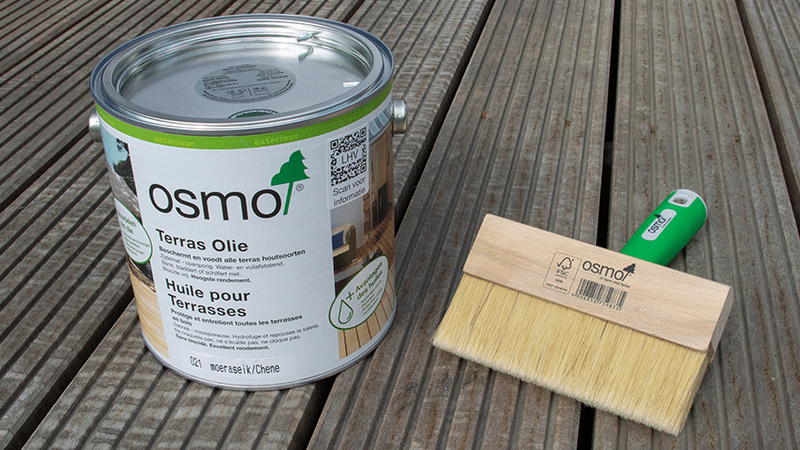
What you need for this tutorial;
Do you want to protect your outdoor wooden surfaces from the elements while simultaneously creating a beautiful look? Opaque stain is an excellent choice. It provides a rich color while the wood grain remains visible.
In this article, you will read everything about opaque stain, how to apply it correctly, and why Osmo Country House Paint is the best choice for a long-lasting, low-maintenance finish.
Preparation before applying opaque stain
Proper preparation ensures good adhesion and long-lasting protection of the wood.
1. Sanding
Does the wood have a previous finish (such as paint)? Use grit 40/80/120 to remove the layer and smooth the surface.
Is the wood oiled? Create a test area to check if sanding is necessary.
2. Untreated wood
Is the wood untreated? Allow the wood to acclimatize for 4-6 weeks first. After that, the wood can be degreased and treated with the opaque exterior stain.
3. Cleaning greyed or dirty wood
Use Osmo Power-Gel Wood Degreaser to refresh greyed or weathered wood.
Ensure the wood is completely grease-free and dust-free before applying the opaque stain.
👉 Tip: Order a sample and test beforehand whether the color and finish meet your expectations.
Step-by-step plan: applying opaque stain in 5 steps
In these 5 simple steps, you can apply opaque stain yourself.
Clean the surface
- Use Osmo Patio Cleaner for general soiling.
- Is the wood greyed? First remove the grey with Osmo Power-Gel Wood De-greaser.
- Allow the wood to become completely dry and dust-free before you begin treatment.

Choose the right opaque stain
Depending on your preferences, choose:
- Osmo Country House Paint 9005 Jet Black: For an opaque finish where the wood grain remains visible.
- Other Osmo Country House Paint options: it does not matter which opaque stain to choose; this is entirely a matter of taste.
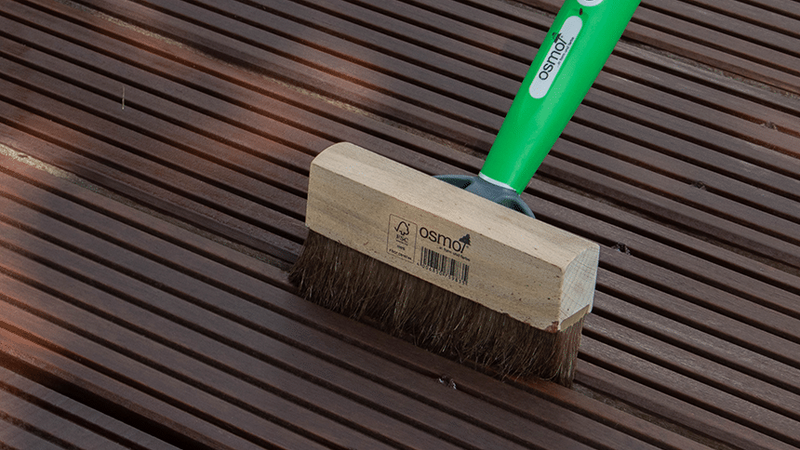
Apply the first coat of opaque stain
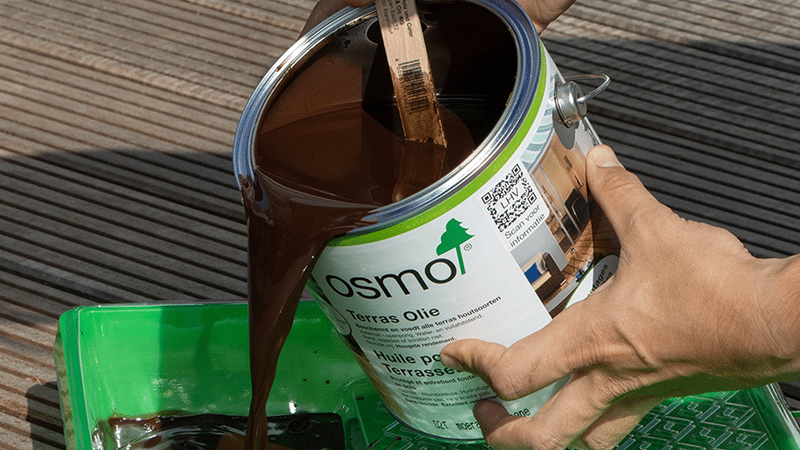
- Stir the stain well for an even consistency.
- Use a roller (10/25cm) or block brush for patios, or a regular brush for fences and garden furniture.
- Apply a thin layer of stain in the direction of the wood grain.
- Allow the first coat to dry for 8 to 12 hours.
Apply a second coat
- For optimal protection, a second coat is required.
- Apply the second coat in the same way and let it dry for another 8 to 12 hours.
👉 Advantage of Osmo Country House Paint: In the future, you will not need to sand before applying a new coat.
Allow the stain to cure completely.
Avoid contact with water until the stain has fully cured. The drying time of Osmo Country House Paint is 10-12 hours.
Benefits of Osmo Country House Paint as an opaque stain
- Excellent protection against moisture, UV-resistant
- Provides full coverage without peeling or cracking.
- Easy to apply without primer.
- Sustainable – not harmful to the environment.
Tips for the best results
- Apply in thin coats to prevent stains and application streaks.
- Stain in dry weather, between 10°C and 25°C, for best drying.
- Test the color beforehand with a sample on a small piece of wood.
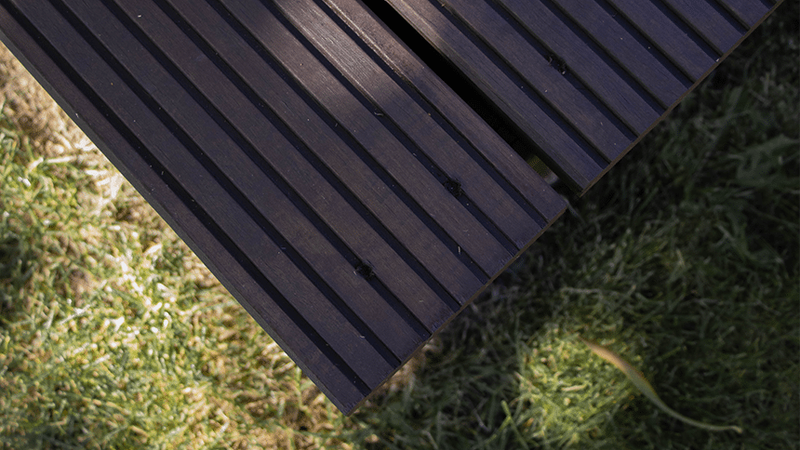
Color examples
Opaque stain offers a rich color while the wood grain remains visible. Osmo Country House Paint is available in 21 colors, including 6 RAL colors. However, Osmo Country House Paint can be mixed in a RAL or NCS color. Perfect for the DIYer!
- Opaque black stain (popular): Osmo Country House Paint 9005 Jet Black for a sleek, stylish look.
- White stain: Ideal for a fresh and light appearance.
- Brown stain: Gives the wood a warm, natural look.
Want to buy the right opaque stain? Order a sample and test it beforehand!
Maintenance of stained wood
- Clean dirt and stains with Osmo Deck Cleaner
- Treat wooden decks twice a year to prevent slipperiness.
- Check annually if a new coat is needed.
Supplies for staining wooden surfaces
Apart from these products, you will also need sandpaper (grit 40/80/120).
Frequently asked questions about opaque stain
This tutorial belongs to
What you need for this tutorial;
Need help with your DIY project?
Are you looking for a tutorial or do you have a technical question?
DIY help needed?
find a step-by-step guide for your project in our tutorial overview
