Staining a garden shed without sanding: here's how to do it
Staining a garden shed without sanding saves time and effort. Discover how to tackle this smartly for a beautiful and long-lasting result.
What you need for this tutorial;
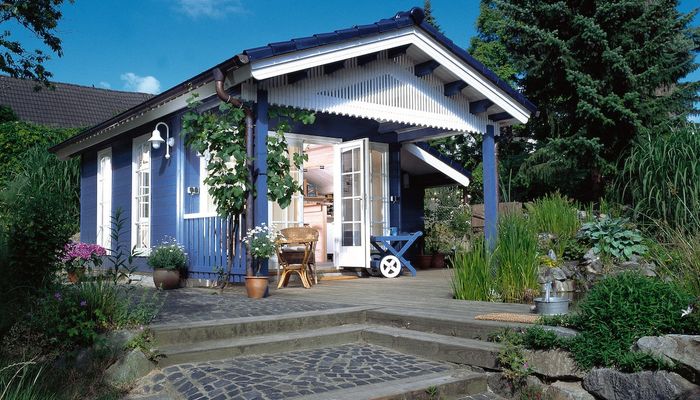
A wooden garden shed is not only practical but also a charming addition to your garden. Whether for storage, a hobby room, or a cozy seating area, you naturally want the wood to stay beautiful for a long time. Fortunately, you can stain your garden shed without sanding, as long as you choose the right preparation and a suitable stain. In this article, you will read how to tackle this step-by-step – without the hassle of sanding machines.
Staining without sanding: is that really possible?
Yes, you can stain perfectly well without sanding the wood first. The Osmo Natural Oil Stain is specially developed for outdoor applications and can be applied directly to untreated, clean wood. Sanding is only necessary if there are still old layers of oil, varnish, or stain on the wood. But there is a solution to avoid sanding for that as well. In that case, you use the Osmo Paint Remover Gel to prepare the wood for a new coat of stain.
Preparation: how to start staining without sanding
Proper preparation is essential for a long-lasting result. Depending on the condition of the wood, you can start immediately or you may need to clean or de-grey it first:
Untreated wood: Start immediately. Sanding is not necessary. Ensure the wood is clean and dry.
Already treated wood: Use Osmo Paint Remover Gel to remove old layers of oil or stain. Rinse with Osmo Power-Gel Wood De-greaser to neutralize the wood and prepare it for a new coat.
Maintenance or new protective layer: Clean with Osmo Patio Cleaner and let the wood dry thoroughly. You can then immediately start staining.
Step-by-step plan: staining a garden shed without sanding
Follow this simple step-by-step plan to effectively treat your wooden garden shed:
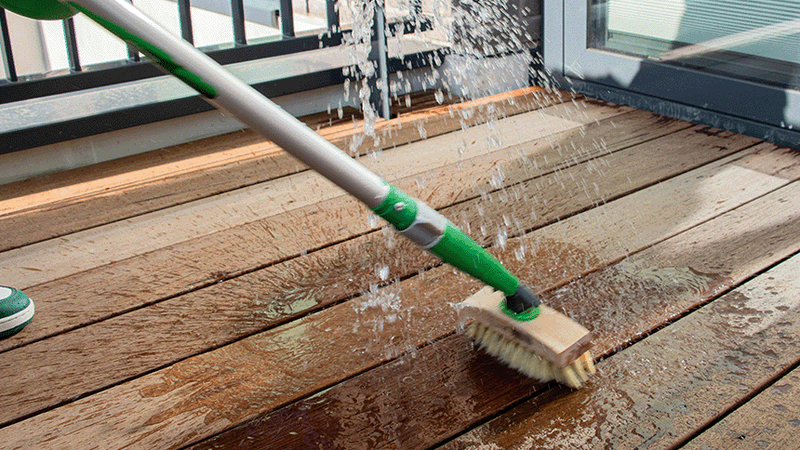
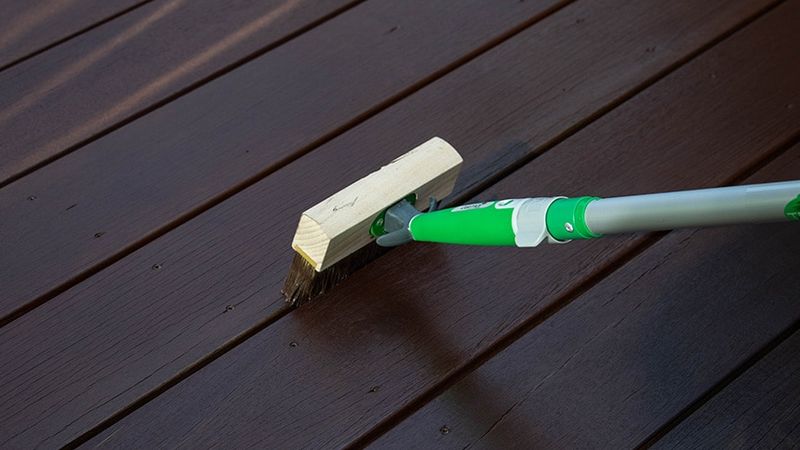
Cleaning the fence or garden shed
Use a brush and Osmo Patio Cleaner to remove dirt, dust, and green deposits. Then let the wood dry completely.
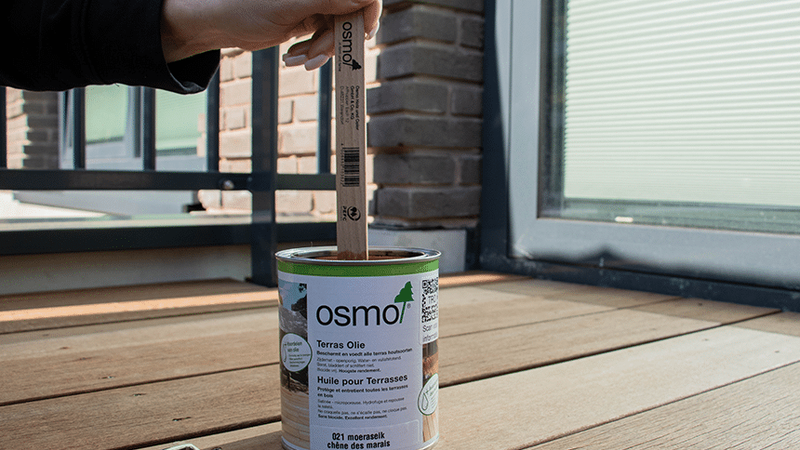
Apply stain
Use a flat brush or roller and work in the direction of the wood grain. Applying a thin layer is sufficient – the stain penetrates deep into the wood.
Let dry
Allow the stain to dry for approximately 12 hours at a minimum of 10 °C. Ensure dry weather conditions and cover the wood if it rains.
Apply second layer
For optimal protection, apply a second coat of stain after drying. This extends the lifespan of the wood and adds extra color intensity.
Benefits of Osmo Natural Oil Stain
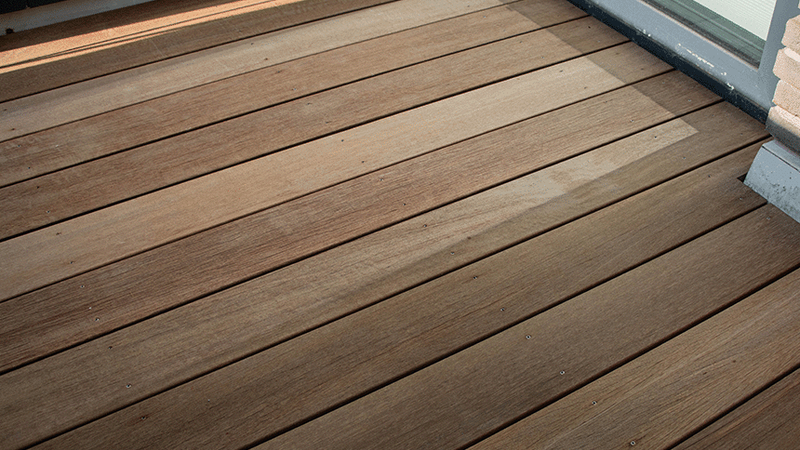
Osmo Natural Oil Stain is a high-quality, oil- and wax-based stain that penetrates deep into the wood and forms a durable protective layer. This stain:
- Protects against rain, dirt, and UV radiation
- Leaves the wood grain visible for a natural look
- Is available in 19 stain colors – from colorless to black
- Requires no primer
- Is ideal for various wood types such as spruce, Douglas fir, teak, and larch
💡 Tip: Choose a variant with color pigment for better protection against sunlight. Transparent stain offers less UV protection.
Supplies for staining your garden shed
Finally, you will also need a bucket of water.
Colors: natural or opaque finish
Osmo Natural Oil Stain is available in 19 different stain colors, including:
- Transparent stain for a subtle look
- Opaque stain for more color and UV protection
- Popular colors such as Teak, Larch, Bankirai, and Douglas
🧪 Unsure? Order a sample and test the effect on an inconspicuous piece of wood.
Maintenance advice
A well-maintained garden shed stays beautiful longer. Follow these maintenance tips:
- Clean your garden shed twice a year with Osmo Patio Cleaner to remove green deposits
- Check annually whether a new coat of stain is needed after cleaning or de-greying
- For greyed wood: treat with Osmo Power-Gel Wood De-greaser before re-staining
Frequently asked questions about staining a garden shed without sanding
This tutorial belongs to
What you need for this tutorial;
Need help with your DIY project?
Are you looking for a tutorial or do you have a technical question?
DIY help needed?
find a step-by-step guide for your project in our tutorial overview
