Treating a pine floor: how to give your wooden floor a natural look
Treating a pine floor is essential for protection and a long lifespan. Discover which treatment suits your floor and how to keep the wood beautiful and strong.
What you need for this tutorial;
A pine wood floor is known for its warm appearance, visible knots, and natural character. However, just like any wooden floor, a pine floor requires proper protection against dirt, moisture, and wear. Especially because pine is a soft wood, it is important to choose a finish that not only enhances the appearance but also makes the wood stronger. This prevents your floor from quickly developing scratches or dents.
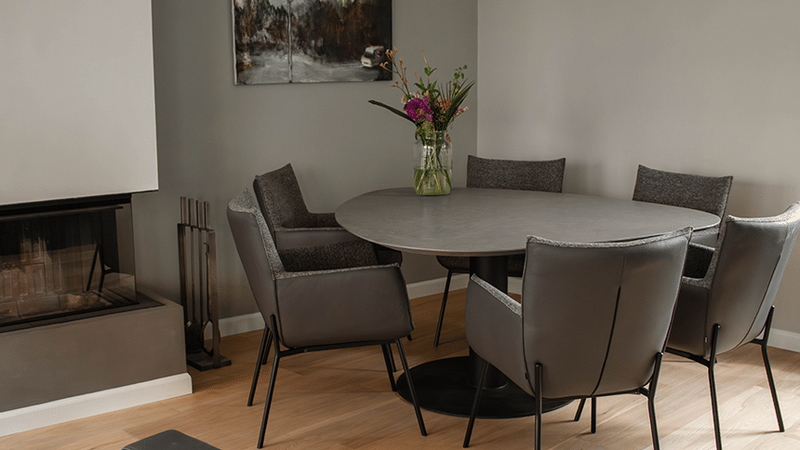
In this tutorial, you will learn step-by-step how to treat a pine floor for a durable result, what supplies you need, and how to thoroughly maintain the floor. After the treatment, you can once again fully enjoy a strong, beautiful floor — perfect as a foundation for your interior and furniture.
Preparation: treating a pine floor starts with a good foundation.
Before we treat the pine floor (also known as lacquering), it is important to properly prepare the surface. This prevents unevenness and ensures good adhesion of the oil.
1. Sanding
Has the floor been treated previously with lacquer, paint, or a product other than oil? Then you must sand the planks thoroughly with grit 40, 80, and then 120. This removes old layers and opens the pores of the wood. Has the floor been oiled before? Then create a test area. If the new oil soaks in well, you can proceed with the treatment immediately.
2. Untreated pine floor
With untreated pine floors, you can start applying oil right away. However, make sure to remove dust from the wood first using a vacuum cleaner and a dry cloth.
💡 Tip: Use a sample to test how the product adheres and how the color turns out on your pine floor. This prevents surprises and reduces the risk of accidentally damaging your floor.
Step-by-step plan: treating a pine wood floor in 4 steps
Depending on the look you want to achieve, choose from four different Osmo finishes. Each has a different application and requires a different product. Ensure you always follow the correct order for the best results.
Kies de gewenste afwerking voor jouw grenen vloer
Wet-look
- Product: Osmo Hardwax-Oil Original
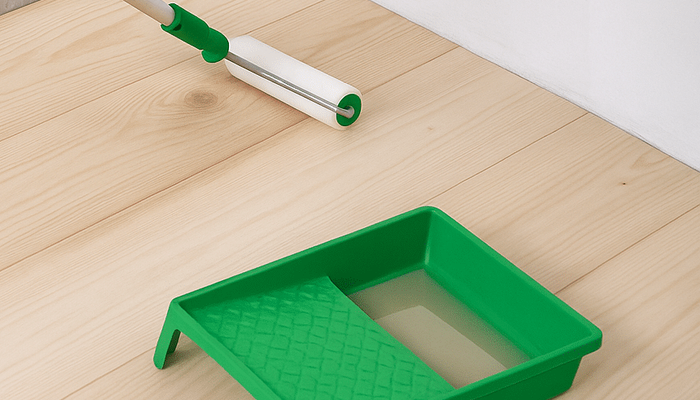
- Tools: Roller set and a brush for the sides
- Result: A warm appearance where the wood grain is accentuated
Untreated look
- Product: Osmo Hardwax-Oil Effect (as first coat) + Hardwax-Oil Original (top coat)
- Tools: Roller set and a brush for the sides
- Result: A natural finish, as if the wood had been left untreated
Wash effect
- Product: Osmo Oil Stain
- Tools: White pad, fleece pad, and hinge application kit
- Result: A matte appearance with a transparent white wash
Color finish
- Product: Osmo Hardwax-Oil Farbig
- Tools: Roller set and a brush for the sides
- Result: Even coverage where the wood grain remains visible
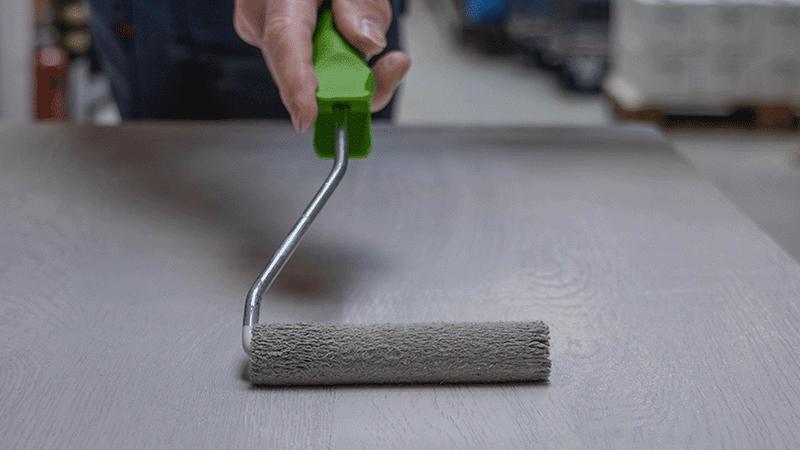
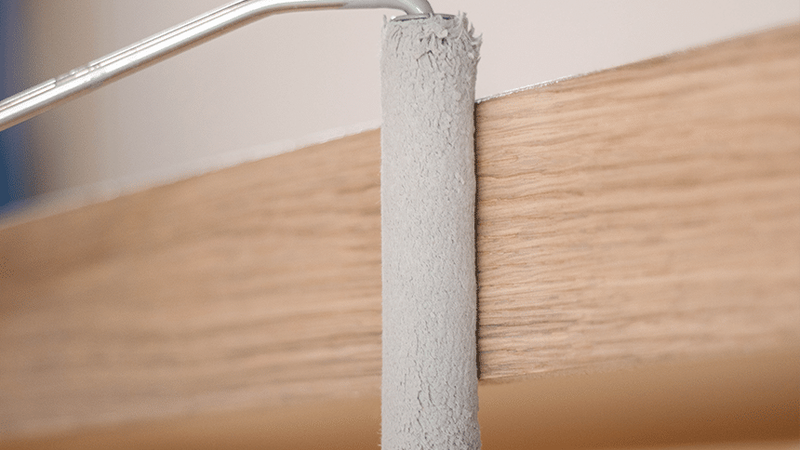
Apply the first layer
Use the right tools to apply an even, thin layer of oil or stain. Always work in the direction of the wood grain and treat the floor plank by plank.
Let the surface dry
Allow the oil or stain to dry for 8 to 12 hours at a temperature between 18 and 24 °C. Ensure good ventilation, but avoid drafts.
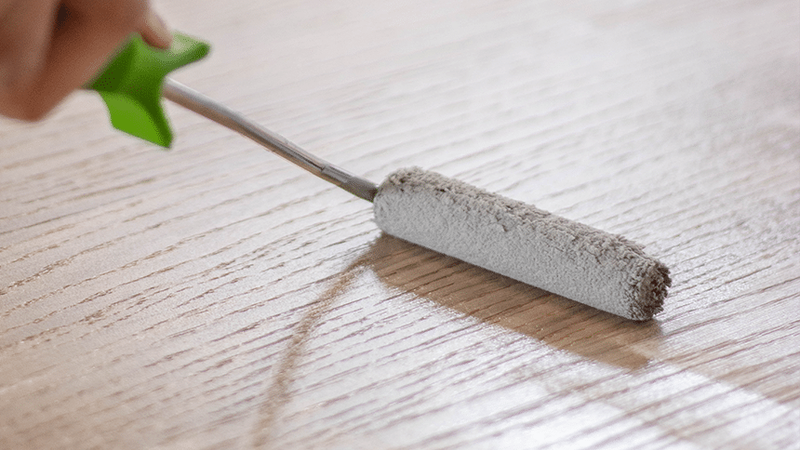
Apply a second coat
For extra protection against scratches, moisture, and wear, apply a second coat. Allow this to dry thoroughly as well before using the floor again.
Benefits of Osmo for pine floors
Treating your pine parquet floor or solid planks with Osmo offers countless benefits:
- Deep protection without film formation
- Wood remains breathable and retains its natural appearance
- Easy to maintain and touch up locally
- Suitable for heavily used wooden floors
- Transparent or colored finish possible
Additionally, the oil provides a durable finish that lasts for years, provided it is properly maintained.
Tips
⭐ Work in sections for larger floors to prevent overlaps.
⭐ Also treat the skirting boards or edges to prevent color differences.
⭐ If in doubt, test on a test area first
Supplies
To treat your pine floor, you need the following materials:
Hardwax Oil Effect color samples
Osmo offers a wide range of colors for your pine floor, from subtly transparent to vividly colored. View all possible looks below.
In all variants, the wood grain remains visible, allowing the floor to retain its authentic appearance.
Hardwax Oil Original color samples
Hardwax Oil Farbig color samples
Oil Stain color samples
Maintenance of your oiled pine floor
Proper maintenance ensures that your floor stays beautiful longer and is less prone to damage. By cleaning regularly and applying a new protective layer in time, you can ensure that your floor continues to look like new.
- Daily maintenance: use Osmo Wisch-Fix to remove dirt and dust
- For light wear: use Osmo Liquid Maintenance Wax
- Need a new protective layer?
- Clean thoroughly with Osmo Intensive Cleaner
- Apply a new protective layer with Osmo Maintenance Oil
Touch-ups can be done locally, without having to sand or treat the entire floor again.
Frequently asked questions about treating pine floors
This tutorial belongs to
What you need for this tutorial;
Need help with your DIY project?
Are you looking for a tutorial or do you have a technical question?
DIY help needed?
find a step-by-step guide for your project in our tutorial overview
