Sanding wooden floors: a practical solution for a sleek floor
Sometimes sanding is necessary to restore a wooden floor. Read when sanding is advisable and how to go about it for the best results.
What you need for this tutorial;
Do you want to give your wooden floor a fresh look or prepare it for a new finish? Then sanding is the first and most important step. Whether it concerns an old floor full of scratches or a new floor that still needs to be treated: with the right approach, you can start immediately.
What do you need to sand a wooden floor?
Before you begin, it is helpful to have the following ready:
- Parquet sander (for large surfaces)
- Edge sander or hand sander (for edges and corners)
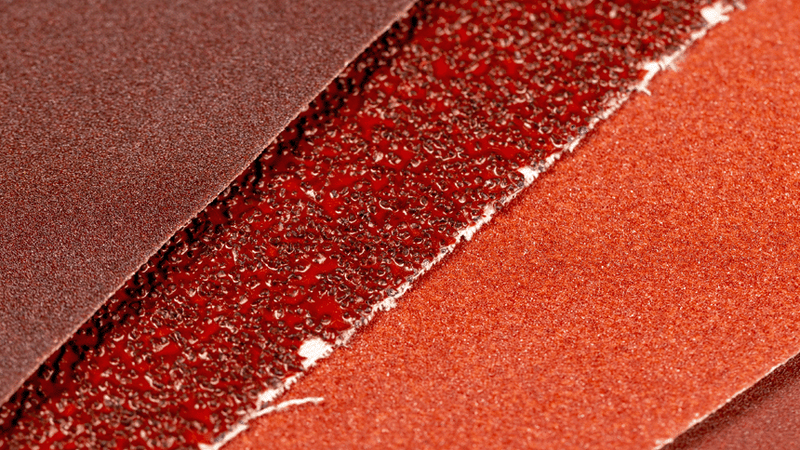
- Sandpaper in three grits: 40 – 80 – 120
- Vacuum cleaner
- Optional: putty, Phillips screwdriver, waste bags
Sanding a wooden floor yourself? Follow this step-by-step plan.
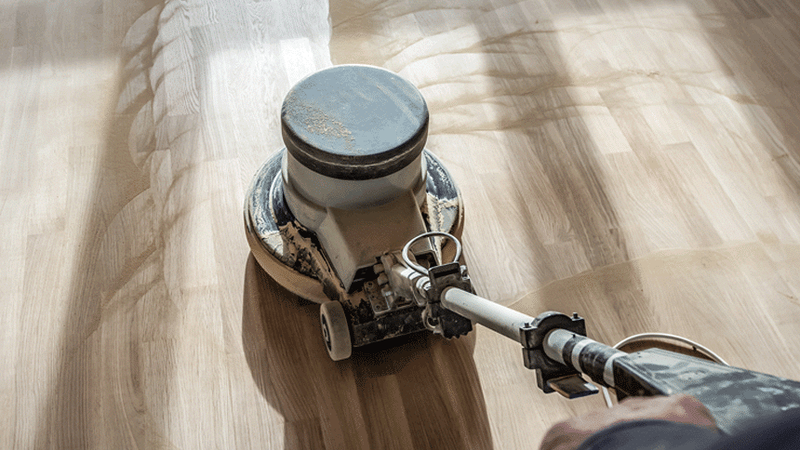
Find or rent the right equipment
Use a parquet sander for the main surface. Finish the corners and along the baseboards with an edge sander or hand sandpaper. You can rent equipment from hardware stores or specialist shops.
Sand the floor in three phases: 40 – 80 – 120
Start with grit 40 to remove old layers, dirt, or lacquer. Then work with grit 80 to level out, and finish with grit 120 for a smooth end result. Always sand along the grain and keep moving.
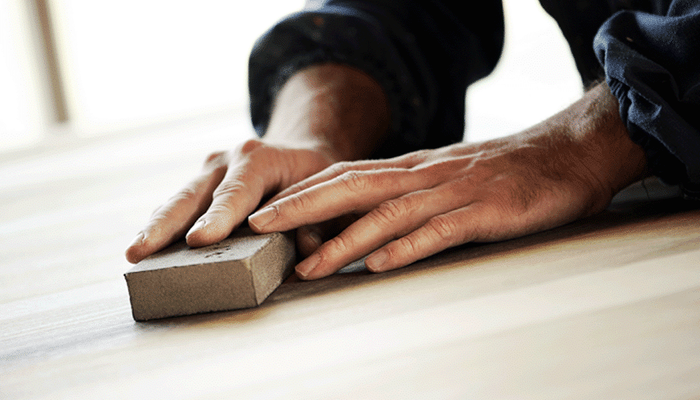
Don't forget the edges
Use a smaller machine or sandpaper to make the floor even all around. Precision is especially important in corners.

Make the floor completely dust-free
Vacuum thoroughly, do not use a damp mop.

When should you sand a wooden floor?
You know it is time to sand when:
- Damage, scratches, or stains are visible
- The floor has been sanded multiple times and looks uneven
- You want to treat a new floor with lacquer or oil
- The floor has discolored or has lost its protective layer
Whether you have an oak floor, parquet floor, or softwood floor – proper sanding significantly extends its lifespan.
Types of wooden floors and their approach
Not every floor requires the same treatment. Note these differences:
Softwood floors (pine, spruce)
Due to their open structure, these floors are susceptible to damage. Sanding is relatively fast but requires caution. It is better to use a telescopic sander or an orbital sander than a heavy parquet sander. These floors are more vulnerable to dents and grooves.
Sanding engineered parquet
These floors have a thin top layer of 4–6 mm. Sand carefully with a light machine. You can sand engineered parquet a maximum of 2 to 3 times.
Sanding solid parquet
Very suitable for a thorough renovation. You can even remove deep damage. Small nails may remain; they will be sanded along with the floor.
Sanding oak floors
Ideal for removing old lacquer or oil layers. Oak wood is sturdy and can be treated well multiple times.
Sanding parquet floors
Accuracy is important, especially with herringbone or mosaic patterns. Work with light pressure and finish with finer sandpaper.
What do you do after sanding?
After sanding the floor, the floor is bare and ready for a new protective layer. There are various options, but we recommend: Osmo Hardwax-Oil Original
This oil is ideal for sanded floors. The combination of natural oil and wax offers long-lasting protection, is water- and dirt-repellent, and enhances the warm color.
Benefits at a glance:
- Protects from the inside out and on the surface
- Creates a natural, matte wet-look
- Easy to touch up locally
- Environmentally friendly and safe after drying
Common mistakes when sanding
- Incorrect (order) of sandpaper used
- Not removing dust properly before finishing
- Not performing a test piece on an inconspicuous area
- Sanding in one spot for too long
- Allowing insufficient drying time before treatment
Tips for the best sanding result
- Always work along the grain
- Start slowly; if necessary, practice on a small area
- Use good dust extraction while sanding
- Check for imperfections after each sanding pass
- Always use the correct grit size: 40 – 80 – 120
Frequently asked questions
This tutorial belongs to
What you need for this tutorial;
Need help with your DIY project?
Are you looking for a tutorial or do you have a technical question?
DIY help needed?
find a step-by-step guide for your project in our tutorial overview
