Applying walnut stain: how to give exterior wood a warm, dark look
Would you like to give light types of wood such as spruce, oak or Douglas fir a warm, dark look without losing the grain? With a walnut stain based on natural oils, you protect various types of wood and easily create a stylish walnut look.
What you need for this tutorial;
Using walnut stain for a warm, natural look
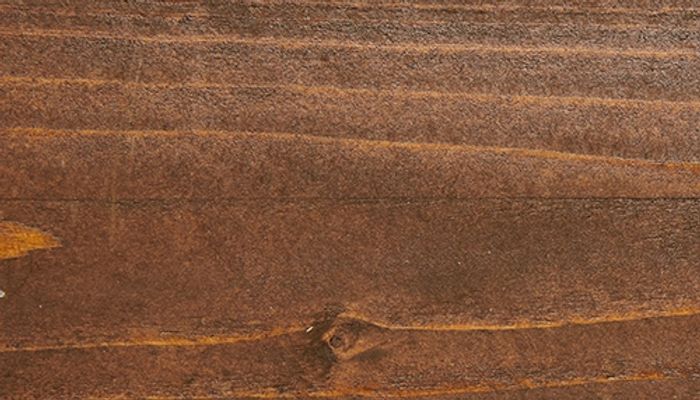
Would you like to give wood a dark, luxurious look without losing its natural structure? Then Osmo Natuurlijke Olie-Beits in the color Walnoot is the best choice. This stain penetrates into the wood and creates a deep walnut color while the grain stays visible. The surface keeps its natural look and at the same time gets strong protection against moisture, dirt and the weather.
Walnut colored stain
Walnut stain is not just for walnut wood. Other types of wood, such as oak, pine, Douglas fir and spruce, can also be treated to create a warm, dark look. Especially if you want to go from light wood to a darker look, a walnut colored stain is a great solution. This is how you give spruce, Douglas fir or oak a walnut color.
With Osmo Natuurlijke Olie-Beits in the color Walnoot, you give garden furniture, fences, cladding and other wooden parts a durable finish based on natural oils. The stain offers robust protection against rain and UV radiation, protects the coating against mold and at the same time lets the wood breathe.
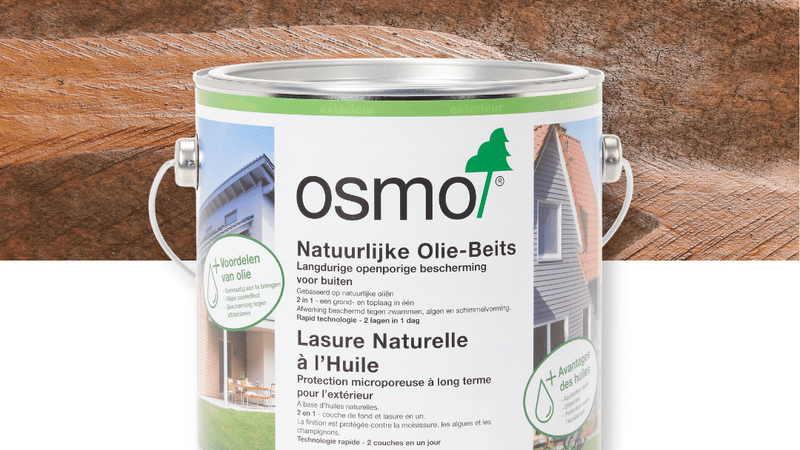
Osmo Natuurlijke Olie-Beits in the color Walnoot
Give light types of wood such as spruce, Douglas fir, pine or oak a walnut look.
Preparation before applying walnut stain
Good preparation gives a better end result and better adhesion of the stain. So always check the condition of the wood first.
Removing old layers of paint or stain
Has the wood previously been treated with paint, stain or another finish? Then sand the surface back completely in three steps: grit 40, then grit 80 and then grit 120. This removes old layers and opens up the wood so that the walnut stain can penetrate the surface properly.
After sanding, make the wood dust-free with a dry cloth or a soft brush. Is there already an oil-based paint or stain on the wood? Then you can also remove the paint without sanding, using Osmo Verf Remover Gel.
Preparing untreated wood
Untreated wood can usually be treated right away. Do make sure the surface is clean and dry before you start staining. If the wood is very rough-sawn, we recommend planing it or lightly sanding it with grit 80.
Testing in an inconspicuous spot
Every type of wood reacts differently to a transparent stain. So always test on a small piece of wood first. This way you can see right away how dark the color becomes and whether the look suits your project.
This is especially important if you want to take a light type of wood to a dark walnut color. It lets you judge whether it really gives the wood the walnut look you are after.
Video: Applying walnut stain
In this video you will see how to stain a table or furniture.

Tafel beitsen: hoe beits je een houten meubel?
Applying walnut stain
With the right step-by-step plan, you can easily treat wood with a walnut colored stain. Always work in thin coats for the best result.
Do a test first to be sure of the look
Osmo Natuurlijke Olie-Beits in the color Walnoot is suitable for various applications, such as furniture, cladding, sheds, canopies and other wooden parts.
A color sample is available for this color. The walnut colored stain gives wood a warm, dark color while the natural grain stays visible.
Use a leftover piece of wood or an inconspicuous spot to do the test.
Check the weather forecast
Keep in mind that the surface must not get wet from rain or from watering plants or the lawn while you are staining and while it is drying.
Stir the stain well
Stir the stain thoroughly before you start. The color pigments must be evenly distributed to prevent color differences.
On larger projects, stir regularly with a stirring stick so the color stays the same everywhere.
Apply the first coat
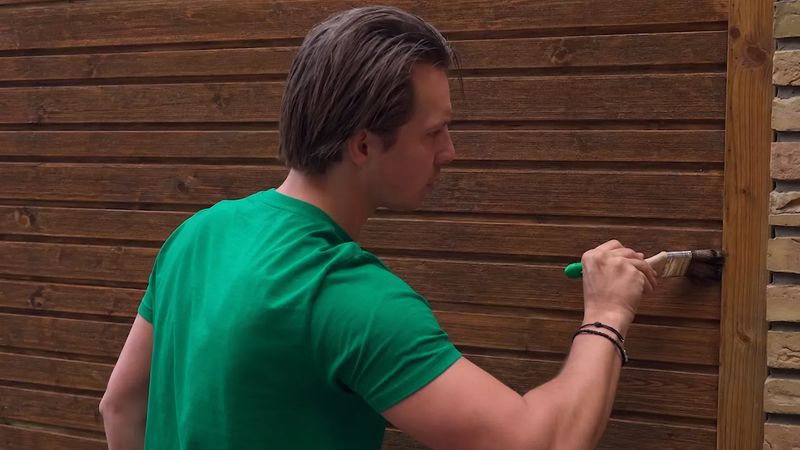
Use a brush for smaller surfaces and a roller for larger areas. Always work in the direction of the wood grain.
Apply the walnut stain thinly. A thin coat gives an even finish and prevents sticky spots.
Let the first coat dry
Let the first coat dry well before you continue. Make sure there is enough ventilation while it dries and avoid contact with moisture.
Depending on the temperature and humidity, drying takes 10 to 12 hours on average.
Apply a second coat
If you want to protect the surface well against water and sun, and protect the coating against mold, apply two coats. Keep in mind that this will make the wood darker.
Is the color already dark enough? Then apply a clear coat of Natuurlijke Olie-Beits 'Kleurloos Mat' or a coat of UV-Beschermingsolie 420, Kleurloos (Zijdeglans).
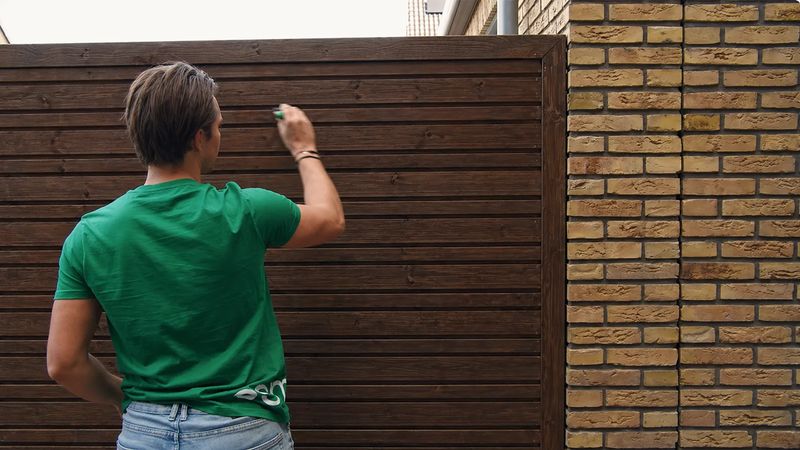
Benefits of Osmo walnut stain
Osmo Natuurlijke Olie-Beits combines protection with a natural look. The stain penetrates into the wood instead of forming a sealing film on the surface. This gives you a number of unique benefits:
- Very economical in use
- Suitable for almost any type of wood
- Can be touched up without sanding everything down
- Protects from within against moisture and UV radiation, and protects the coating against mold
Supplies
Color examples
Maintenance advice
Good maintenance helps keep the color and protection of the wood for longer.
Remove green algae regularly with Osmo Terrasreiniger and a stiff brush. Has the wood turned gray due to the weather? Then use Osmo Power-Gel Houtontgrijzer to bring back its original look before you treat it again.
You can touch up the color without sanding. First clean the surface thoroughly and then apply one new coat of the same walnut stain that was used before.
Frequently asked questions about walnut stain
This tutorial belongs to
What you need for this tutorial;
We're happy to help
Looking for DIY advice or have a technical question?