Painting a fence
Osmo Landhuisverf is ideal if you want to give your fence a fresh, natural look while also getting long-lasting protection. This opaque paint protects the wood against the weather, while the wood texture stays visible for an authentic result.
What you need for this tutorial;
Video: painting a fence
Painting a fence is not a complicated job, and there are several ways to do it. Do you prefer an opaque coat or a transparent look? There are also many colors to choose from. Fence paint not only makes the fence look good, it also gives the wood optimal protection. Treating the fence makes the wood last longer, so you can enjoy it for longer.
Watch the video below for a handy step-by-step plan.

SCHUTTING VERVEN
Step-by-step plan for painting a fence
The step-by-step plan below gives you all the information you need to paint your fence yourself. The video also shows exactly how to apply UV-Beschermingsolie to your fence. So it is time to get started on your (old) fence. You do not need an experienced professional for this.
Stir the product thoroughly
Stir the product thoroughly for 2 minutes, because the oil and wax have separated by the time you open the can. Always do a test on the surface first to check that the result gives the effect you want.
Apply the first coat
Apply the first coat to the new or sanded wood with a flat brush or floor brush. For larger surfaces, you can also use a roller or block brush. Prevent drips from staining the ground by covering it with protective sheeting.
Correct mistakes
Mistakes made during application can be corrected on the wet surface for up to 15 minutes after application. Think of lap marks from a roller or bristles from a brush.
Let it dry thoroughly
The first coat takes about 10 to 12 hours to dry (at 23 °C and 50% relative humidity). At lower temperatures or higher humidity, drying takes longer. Always make sure there is good ventilation, and do not apply the product in bad weather or rain.
Apply the second coat
Apply a second coat for longer-lasting protection. Apply it in the same way as the first coat.
Let it dry thoroughly
Drying takes about 12 hours; see step 4.
Supplies for painting a fence
Color examples
Choose the look that suits your fence. Will you go for a transparent or an opaque fence color?
UV-Beschermingsolie
Landhuisverf
The solution for every fence
Painting a grayed fence
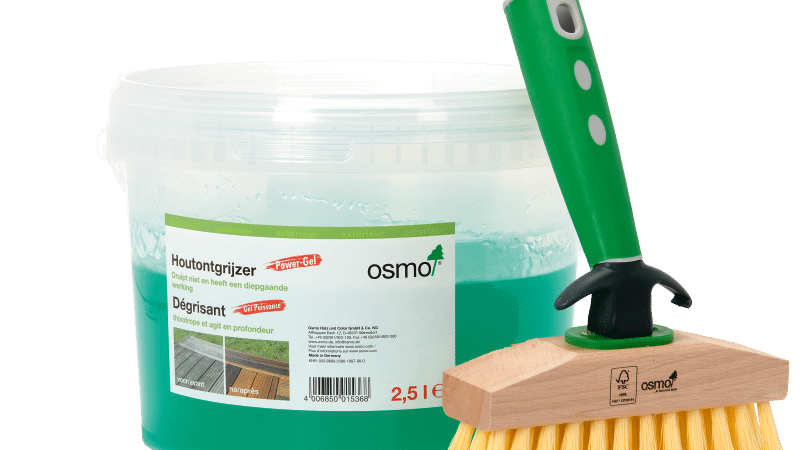
If your fence has turned gray, the graying must be removed first before you can protect the wood again. Osmo Power-Gel Houtontgrijzer is the perfect product for this. You can easily apply the gel to the wood with a brush. Let the Power-Gel work for 20 minutes, then scrub the grayed fence with a stiff brush. Then rinse the fence with water. Once the graying has been removed, you can paint the fence with the Osmo product of your choice.
Painting a hardwood fence
Both softwoods and hardwoods can be treated with Osmo's outdoor products, so every outdoor wood species can be given a protective coat. Fences made of hardwood can also be treated with either an opaque or a transparent product.
Painting a pressure-treated fence
Pressure-treated wood can be treated with Osmo without any problem. On pressure-treated wood, you can apply either UV-Beschermingsolie (transparent) or Landhuisverf (opaque). After treatment with Osmo, the pressure-treated wood lasts longer and can be given the look of your choice.
Buying guide: the best paint for your fence
There are several ways to paint wooden or hardwood fences. For a transparent finish, Osmo UV-Beschermingsolie is the right product. This oil is available in seven different colors. All variants have a UV protection factor of 12. This means that after treatment, the fence is protected 12 times better than without treatment.
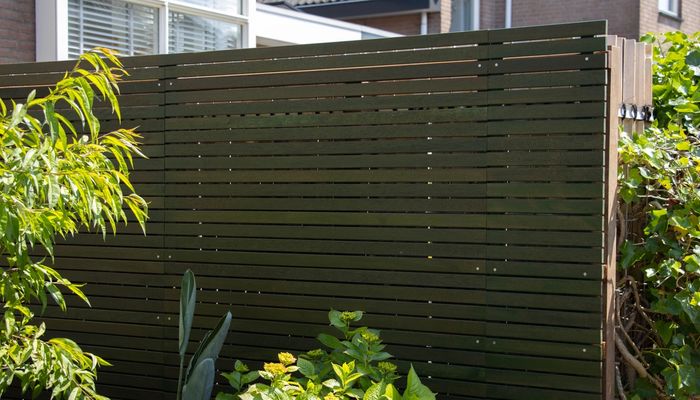
Osmo Landhuisverf is the best product for giving your fence an opaque finish. With this treatment, you can still see the texture of the wood, but the grain disappears. This creates an opaque color while you can still tell it is a wooden fence. Landhuisverf also protects the wooden fence against UV radiation, water and dirt.
Would you rather stain your fence? Then discover more handy tips about staining fences in our knowledge center.
Osmo tip: painting a fence without sanding
Painting a fence without sanding sounds ideal, and with Osmo it is possible. New or untreated wood can be treated with the Osmo product of your choice. If the wood has turned gray, the graying can be removed. The best way to do this is with Power-Gel, so the wood does not need to be sanded. This product removes the gray color from the fence and brings back the natural color of the wood.
After treatment with Osmo, the fence no longer needs to be sanded. When the fence needs repainting, you can simply apply a new coat without removing the old one. It is advisable to clean the fence first, though. Remove algae and green growth before you start painting. Do you still choose to sand? Then make the fence dust-free with a soft brush after sanding.
Frequently asked questions
This tutorial belongs to
What you need for this tutorial;
We're happy to help
Looking for DIY advice or have a technical question?