Staining oak: step-by-step plan and tips for the best protection
Staining oak calls for a careful approach. Read how to color oak without blotches or streaks.

What you need for this tutorial;
Oak is a popular wood species because of its natural look and durability. To protect oak against moisture, UV radiation and graying, it is important to stain it the right way. In this article, you will read how to stain oak and which Osmo products are suitable for it.
Preparation before staining oak
Good preparation ensures optimal adhesion of the stain and prevents discoloration of the wood. Depending on the condition of the oak, different steps are needed:
- Sanding for an even surface: Sand the wood with sandpaper in the order of 40, 80 and 120 grit. This opens the pores of the wood and helps it absorb the stain better.
- Untreated oak: Is the oak untreated and clean? Then you can apply the stain right away without any extra preparation.
- Grayed or dirty oak: For grayed or dirty wood, use Osmo Power-Gel Houtontgrijzer to restore the original color and clean the wood.
Video: Staining oak
In this video you will see how to stain a table or furniture.

Tafel beitsen: hoe beits je een houten meubel?
Step-by-step plan: staining oak in 5 steps
Follow these steps for the best treatment and optimal protection of your oak.
Clean the surface
Remove dirt and dust with a brush or Osmo Terrasreiniger. Make sure the wood is completely dry before you start.

Choose the right product for oak
Choose a suitable Osmo product depending on the type of surface and the look you want:
- Osmo Natuurlijke Olie-Beits: suitable for all outdoor wooden surfaces and available in various colors. The best choice if you want color while keeping the wood structure and grain visible.
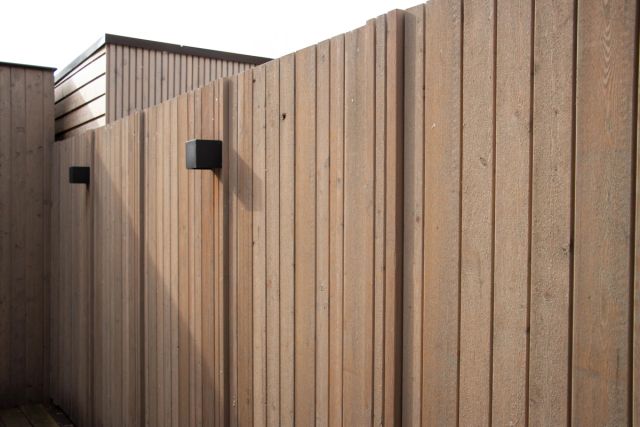
- Osmo UV-Beschermingsolie: a transparent finish, ideal for vertical surfaces such as cladding and fences. This oil slows down the graying process with UV factor 12.
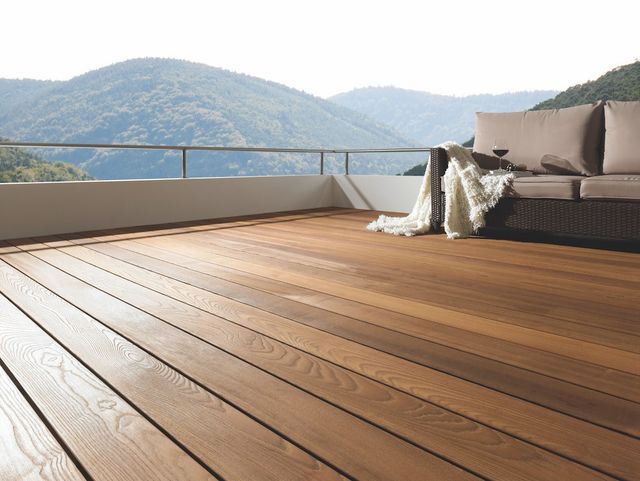
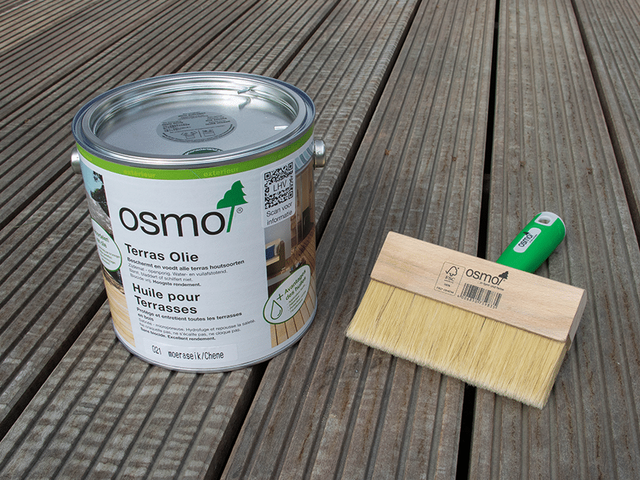
- Osmo Terras-Olie: specially developed for horizontal surfaces such as decks and terraces. Protects against UV radiation, water and dirt.
For an opaque finish, you can use Osmo Landhuisverf.
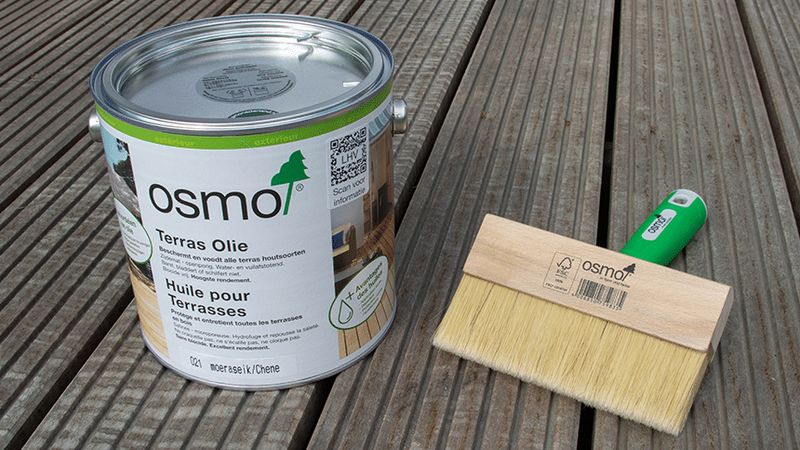
Apply the first coat
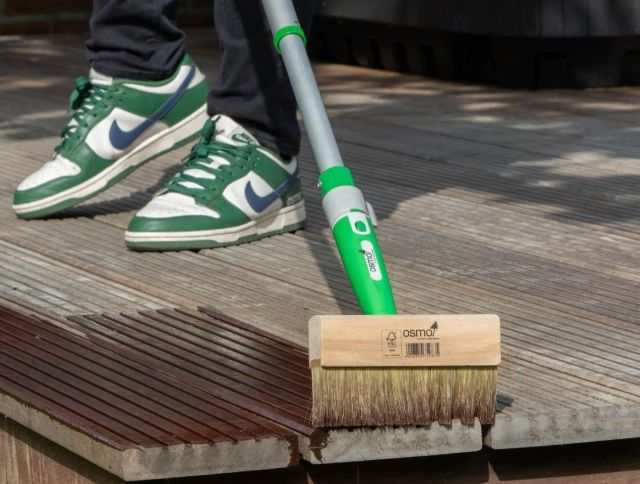
Stir the stain thoroughly for even coverage. Use a brush or roller and apply a thin coat in the direction of the wood grain. Let the stain dry for 8 to 12 hours and make sure the wood does not get wet during this time.
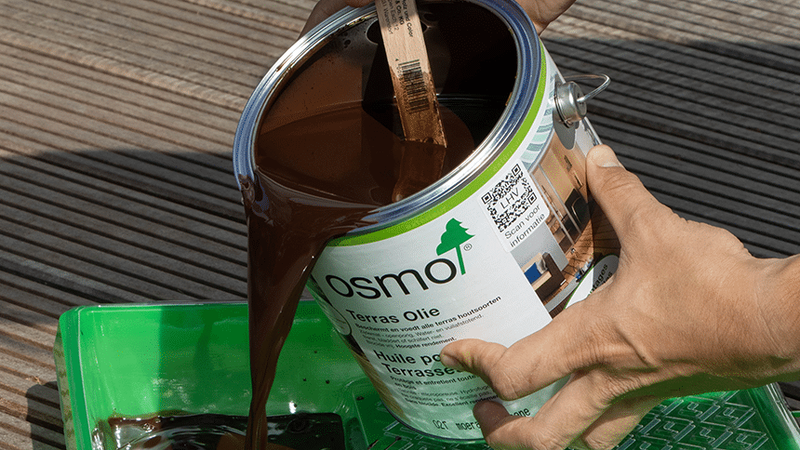
Apply the second coat
A second coat is necessary for optimal protection. Apply it in the same way as the first coat. This coat also needs 8 to 12 hours to dry.
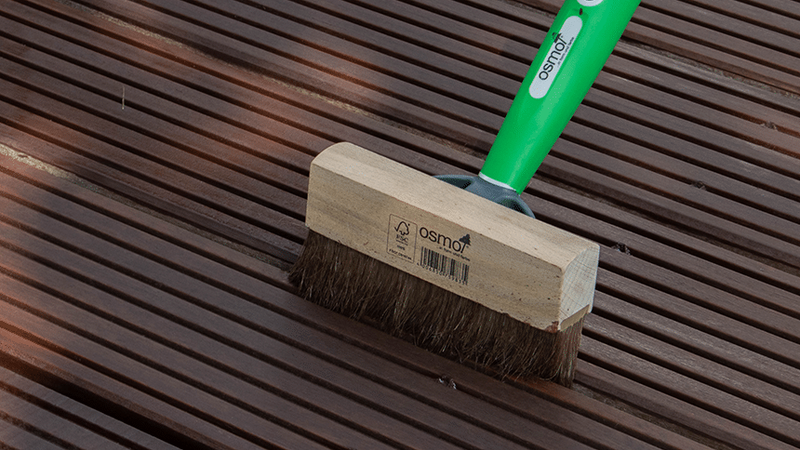
Let the stain cure completely
Avoid contact with water until the stain has fully cured. Check that the surface is even and remove excess stain if necessary.
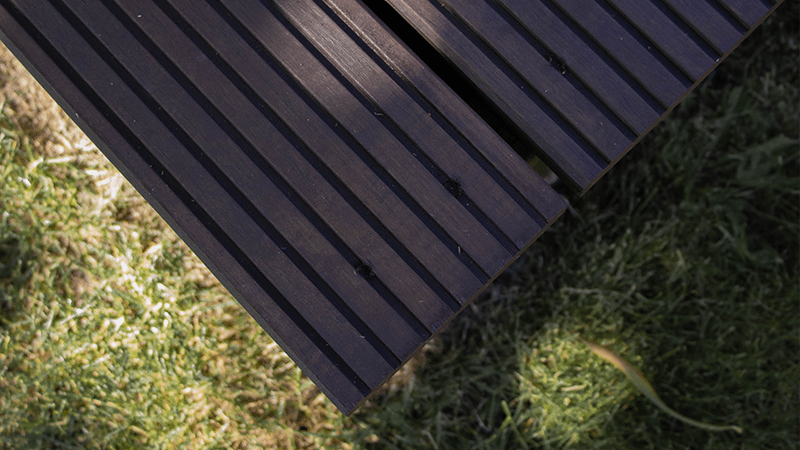
Benefits of Osmo stain for oak
Using Osmo stain offers several benefits, including a beautiful look for the wood.
- Protection against graying
UV filters slow down the graying process.
- Long-lasting protection
Osmo oil penetrates deep into the wood and protects against moisture, dirt and the weather.
- Natural look
The wood grain stays visible, giving an authentic look.
- Easy maintenance
Touch-ups are possible without sanding: simply applying a new coat is enough.
Supplies for treating oak
Tips for the best result
- Work in thin coats: this prevents blotches and gives even coverage.
- Stain in suitable weather: ideal temperatures are between 10 °C and 25 °C, and it must be dry.
- Test the color first: try the stain on a small piece of wood to see how the color turns out.
Color examples
Osmo offers stains in various colors, including oak. Depending on the product and color you choose, you can preserve the natural look of the wood or give it a different shade.
Osmo Natuurlijke Olie-Beits: popular colors
UV-Beschermingsolie: for vertical wood
Terras-Olie: for horizontal wood
Maintenance advice
- Cleaning: clean the wood with Osmo Terrasreiniger, especially if there is dirt or green growth.
- Preventing slipperiness: clean decks and terraces twice a year to prevent them from becoming slippery due to algae or dirt.
- Check the finish: inspect every year whether the wood needs a new coat, especially in areas that are used a lot.
Frequently asked questions about staining oak
This tutorial belongs to
What you need for this tutorial;
We're happy to help
Looking for DIY advice or have a technical question?